How to start streaming in OBS Studio over the SRT Protocol
Original article: https://callabacloud.com/en/how-to-start-srt-streaming-in-obs-studio
- Download and install the latest version of OBS Studio from the official website: https://obsproject.com/
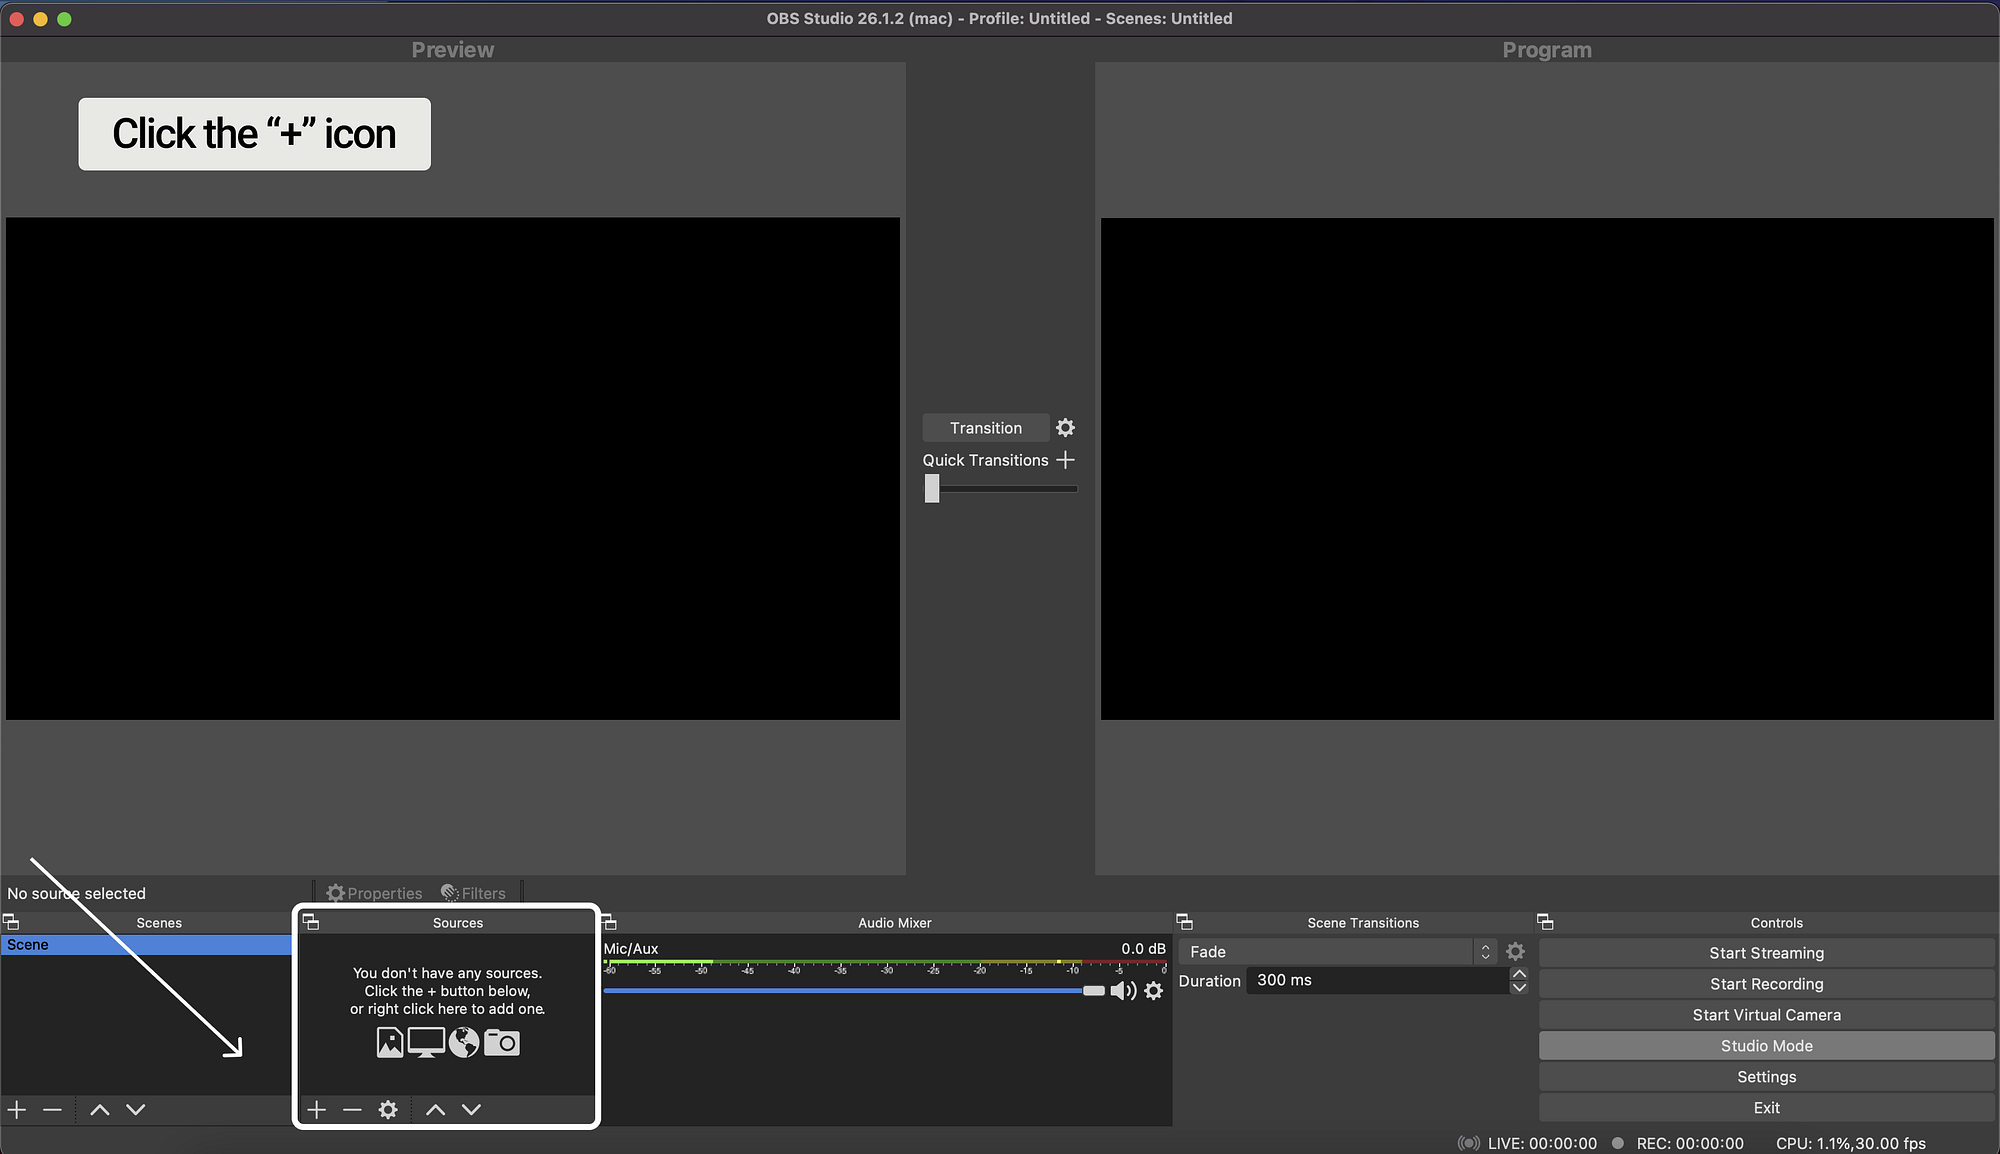
2. In the bottom control panel find the Sources window. Click the plus sign and select Video Capture Device.
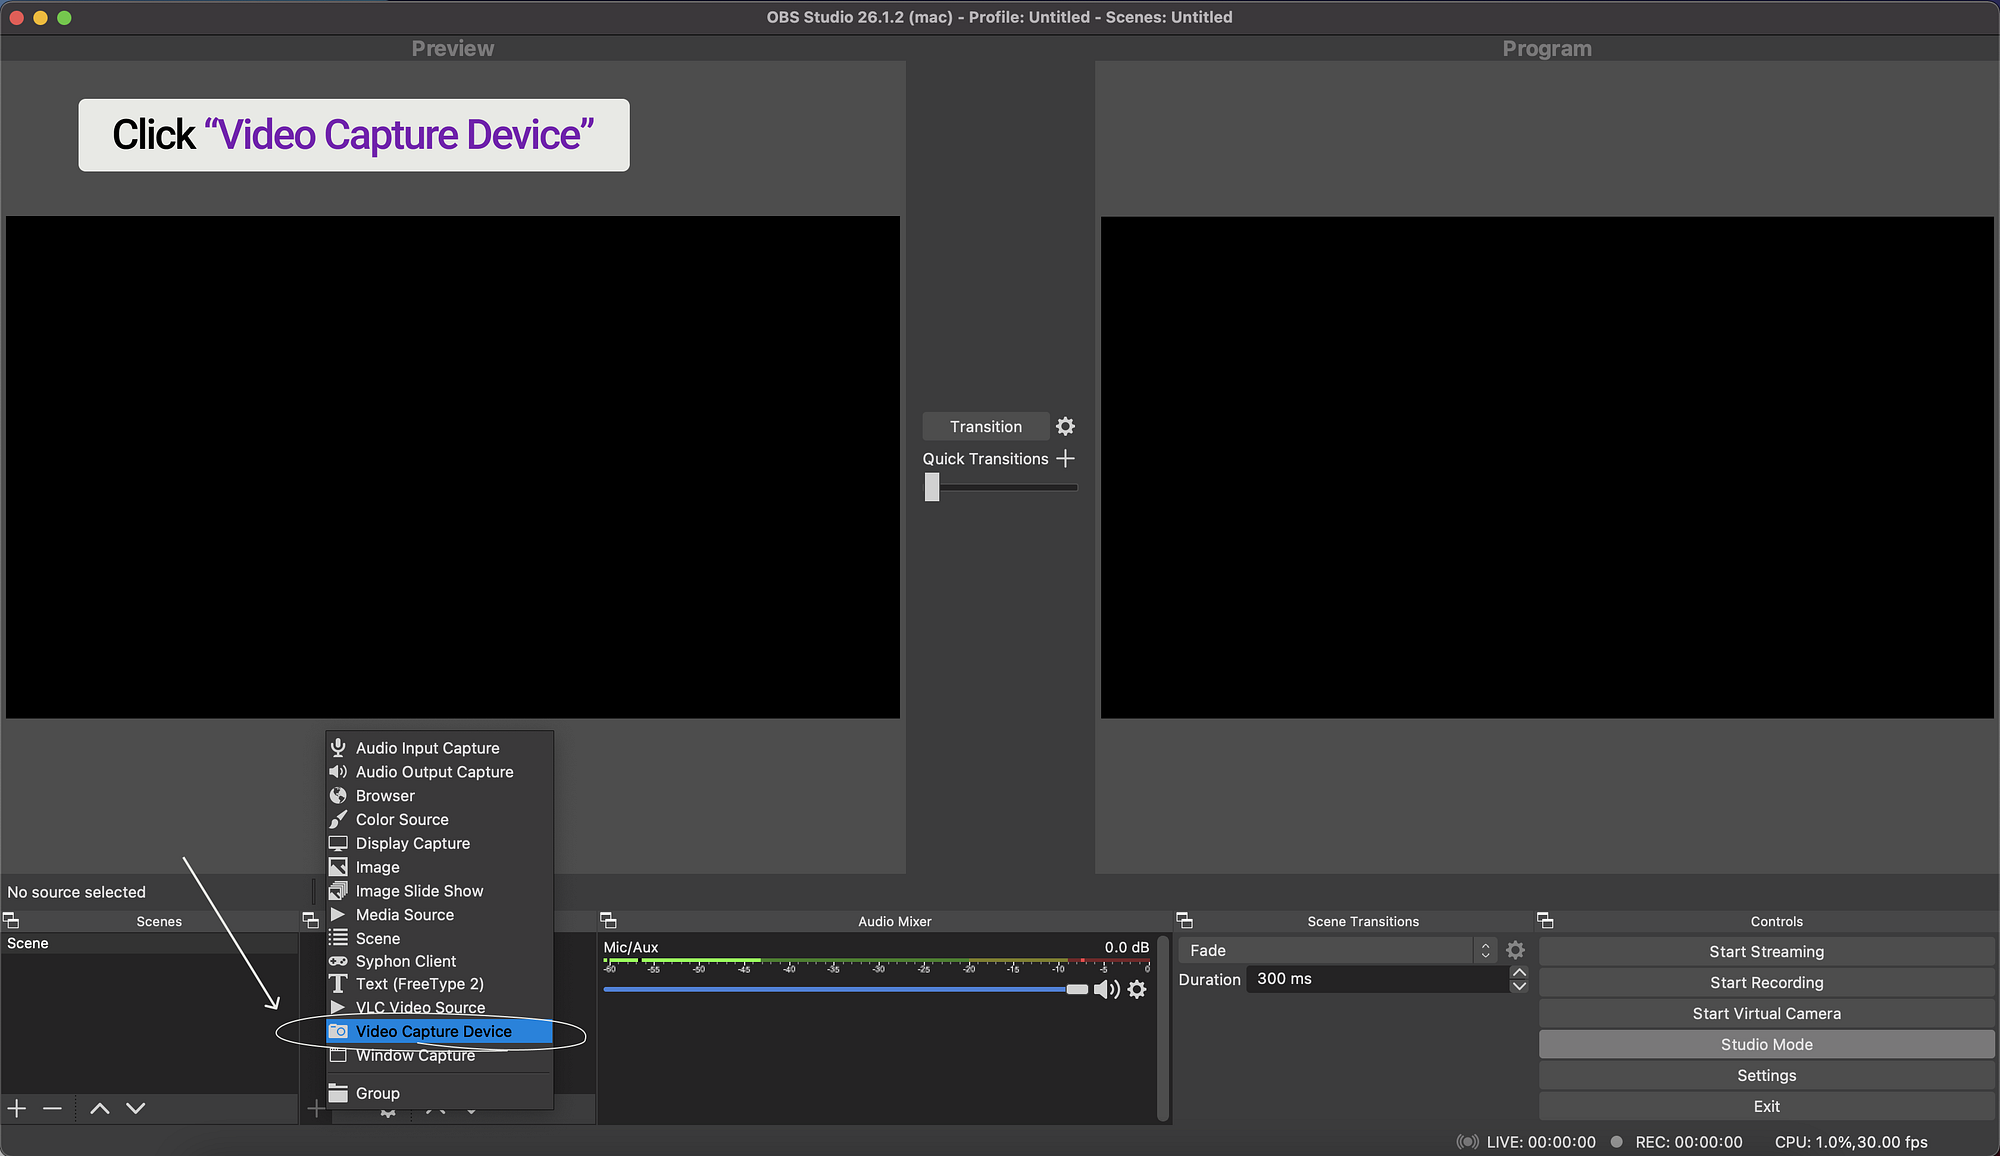
3. In the opened window specify a name for the created source. This will help you avoid confusion in the future if you’d want to switch sources while streaming.
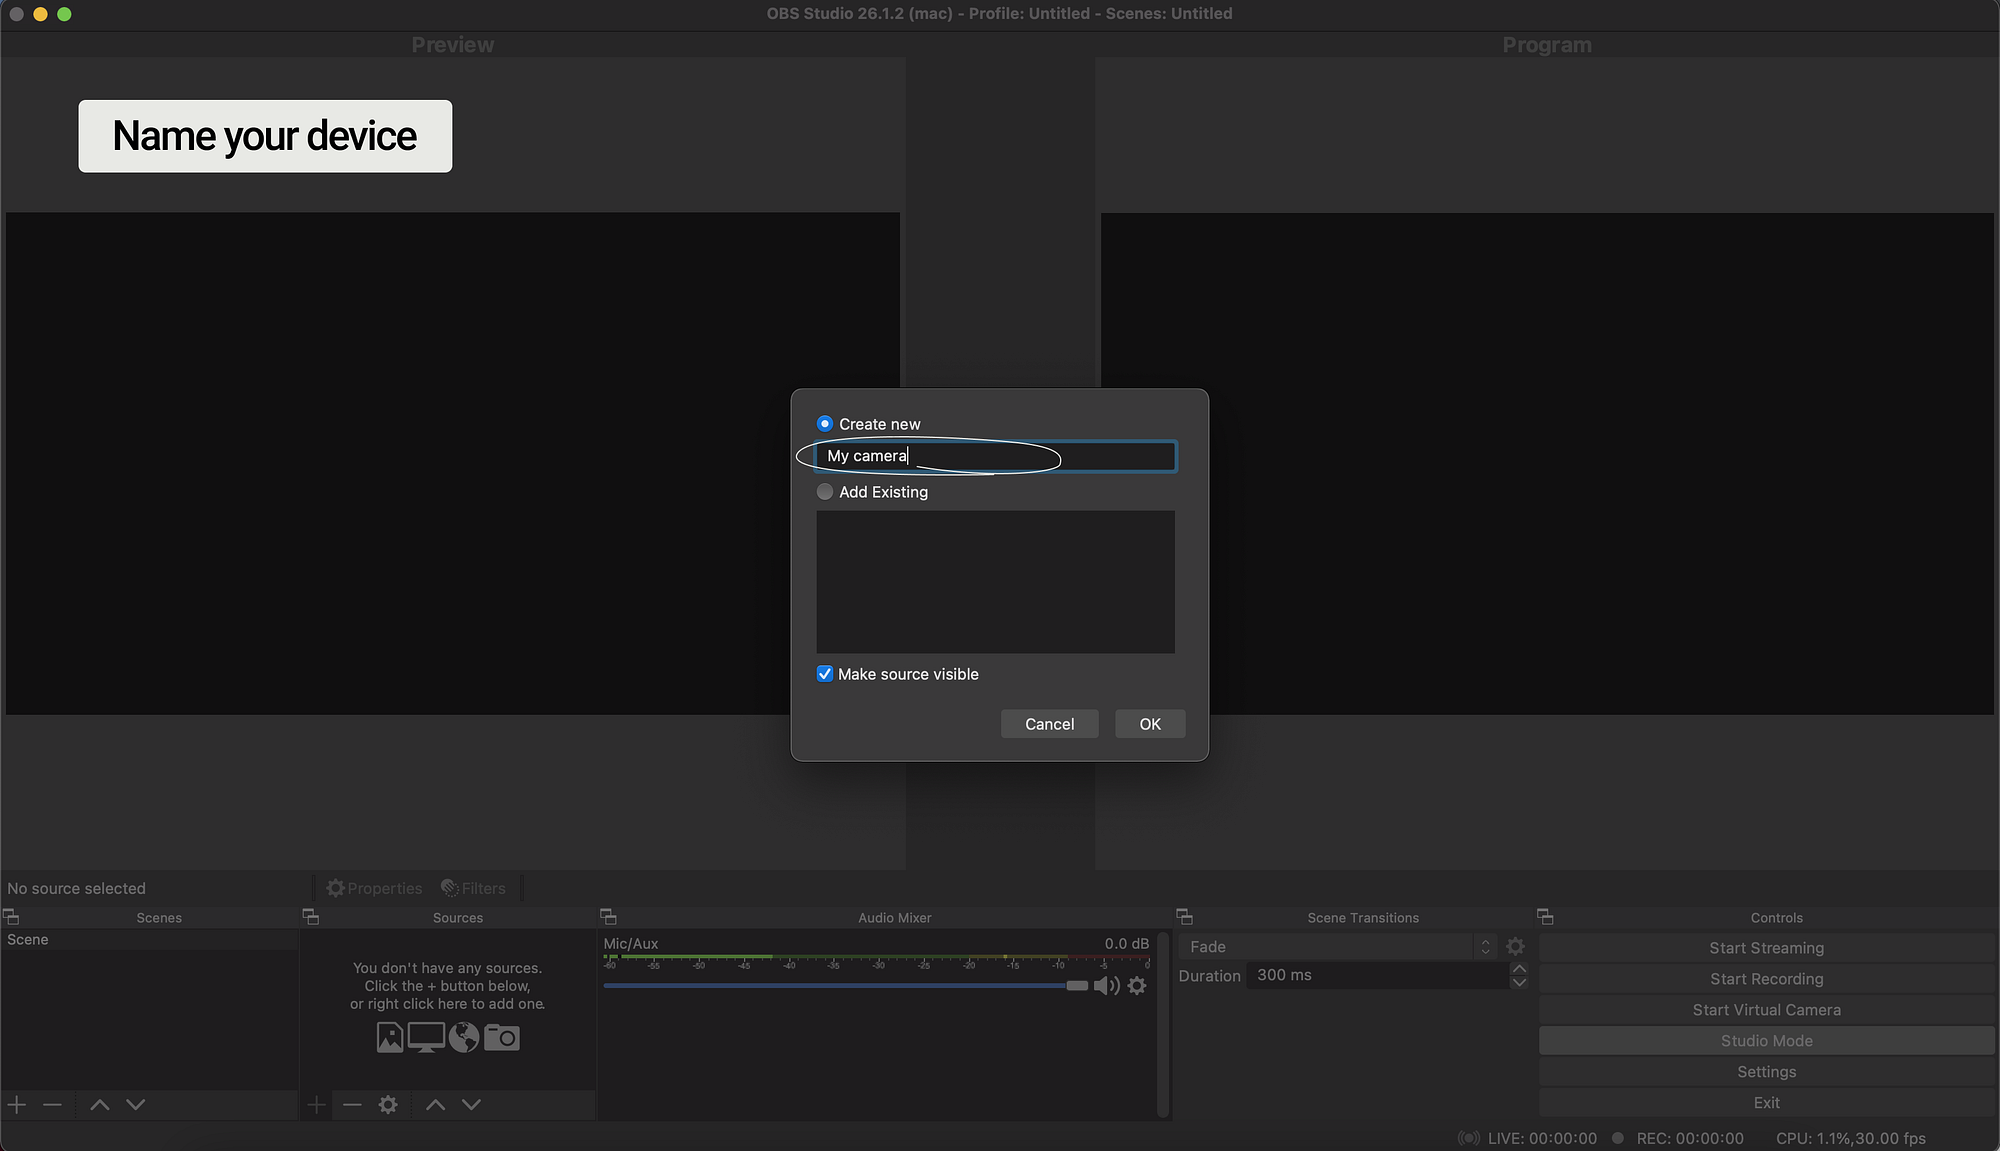
4. In the popup window select the camera and the required resolution. For this tutorial we are using a USB camera and its maximum resolution is 1280 x 720.
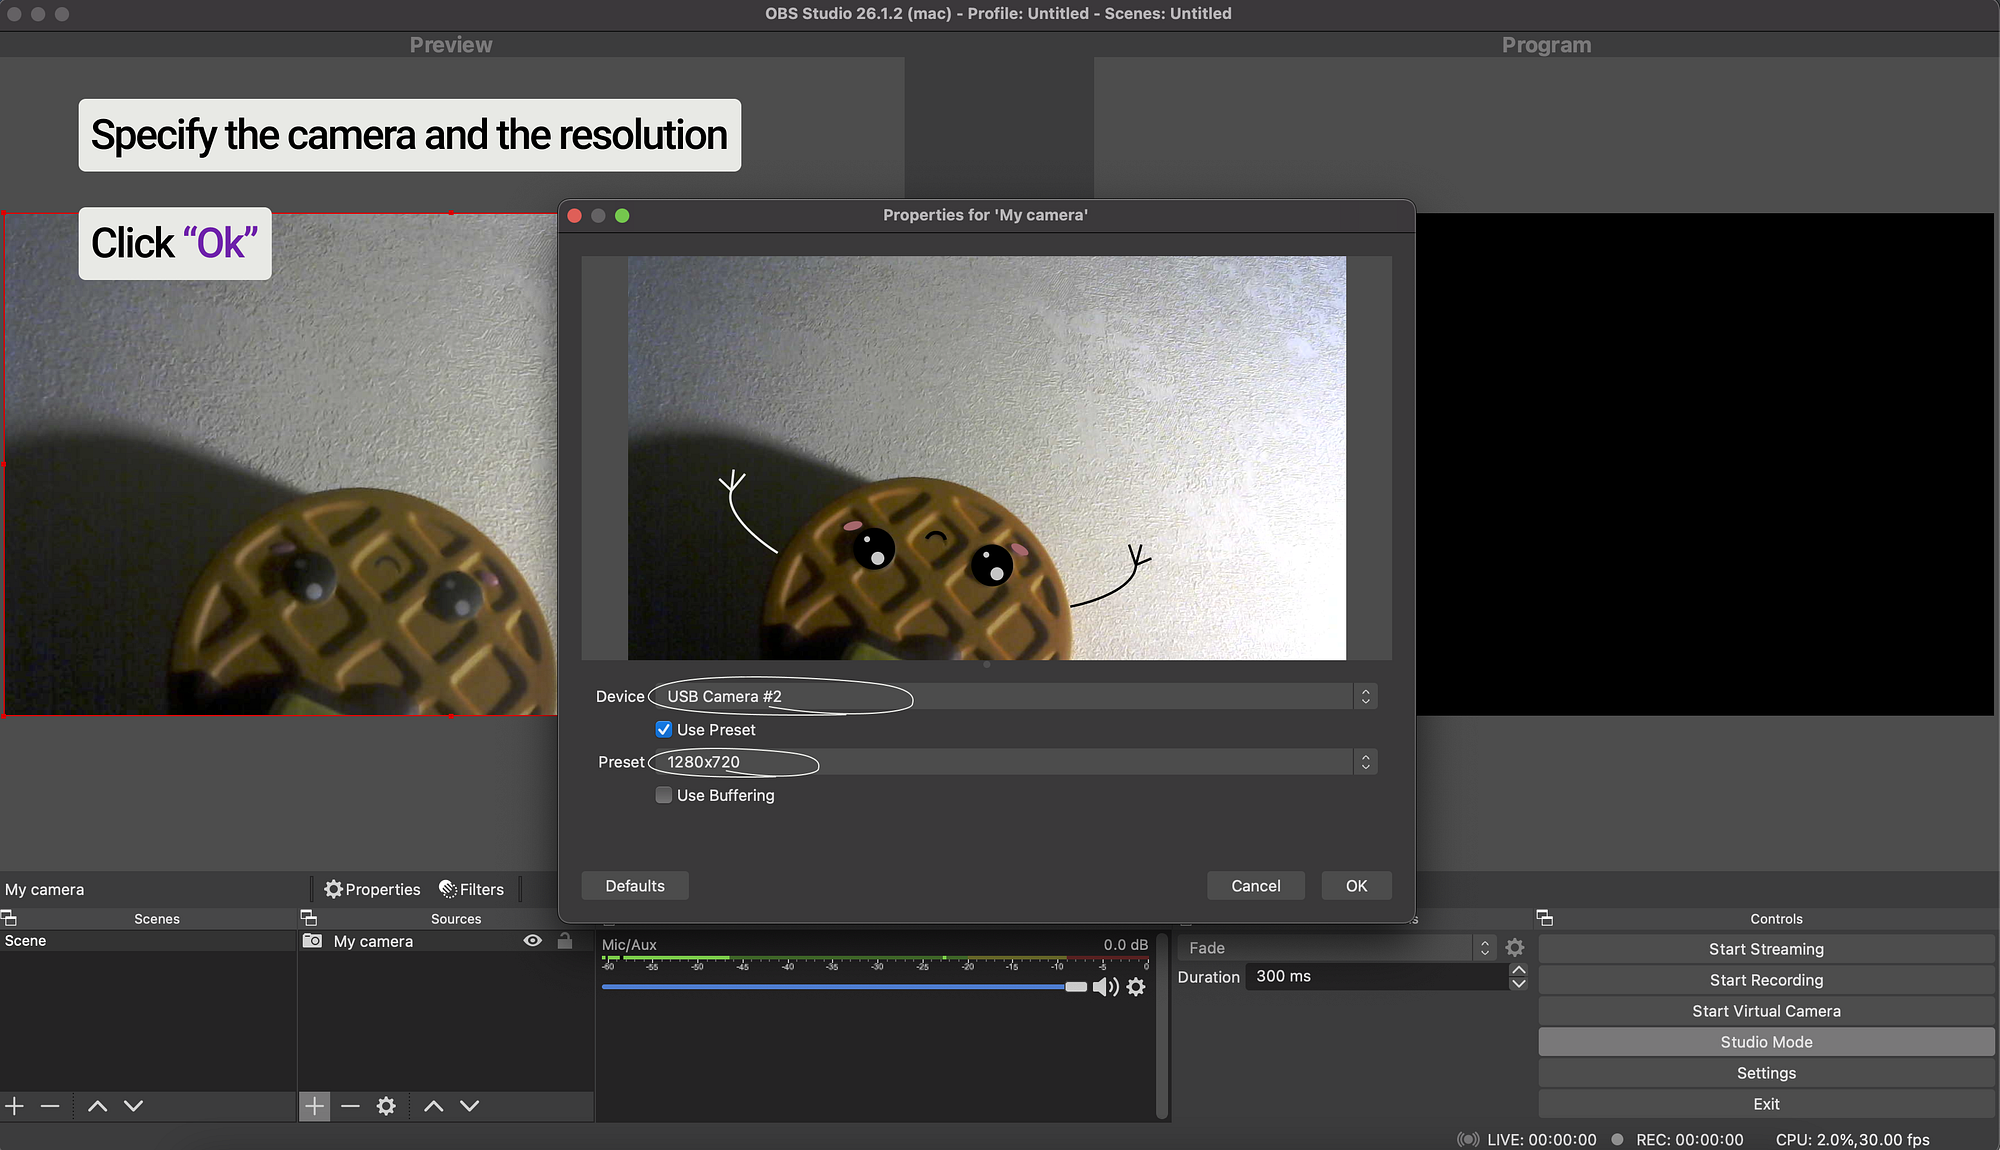
5. To send data from our added camera over the network using the SRT protocol, we need to configure the broadcast. Find the Settings button in the lower right corner. Click on it and go to the Stream tab.
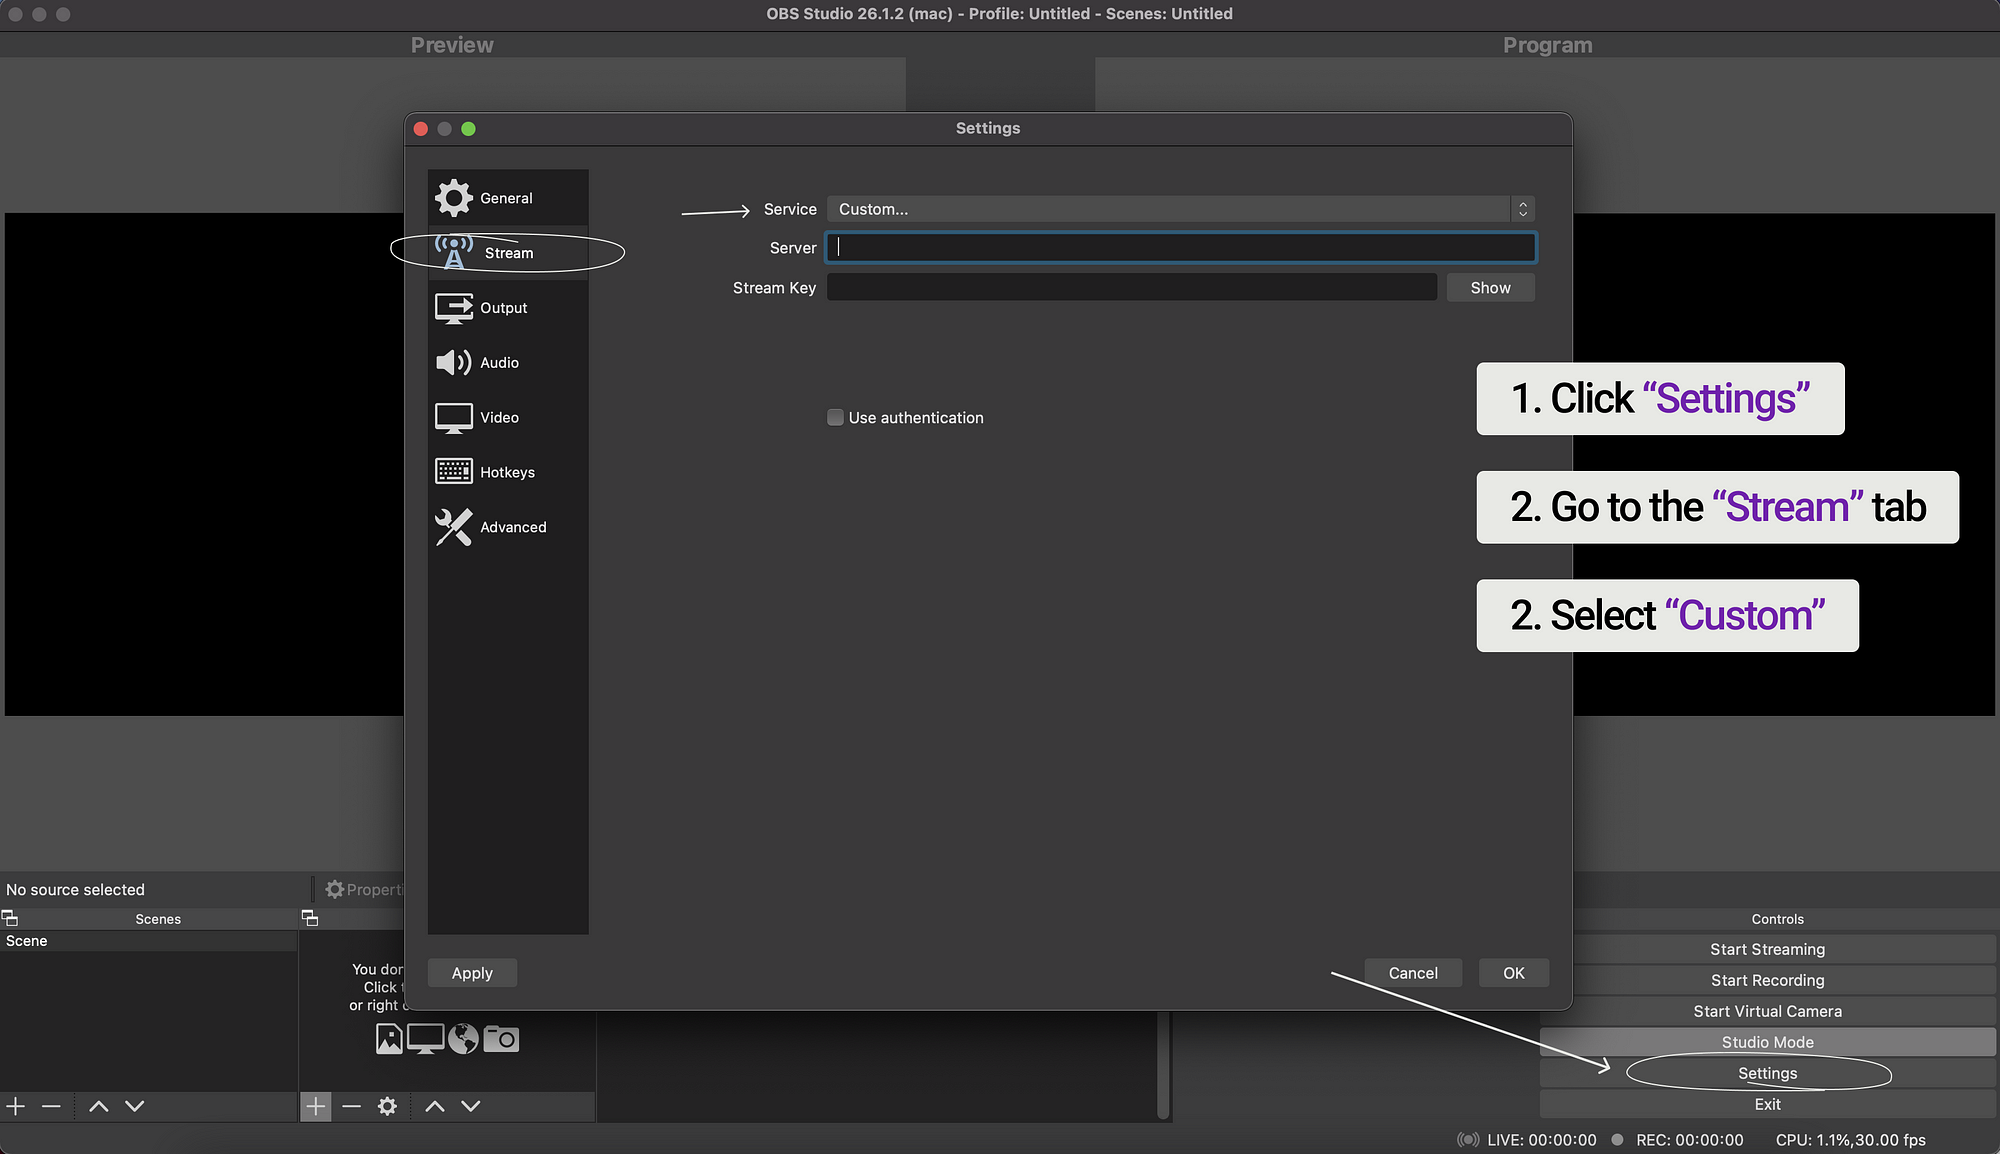
6. Next, we have to specify an SRT path to the server to start broadcasting as a sender.
Launch Callaba Cloud SRT server on Amazon Web Services (it will take no more than 5 minutes).
Step-by-step guide: How to launch Callaba on AWS
7. Create a SRT Server
Go to SRT Servers. Click "Add New"
Name: Give your server a Name.
Port: specify your publisher port
Receiver Port: specify your receiver port
Click “Save”.

Awesome! You have created your Callaba SRT server!
Once the SRT server is created, go to SRT Servers > Click the “Info” button.
You will see parameters for sending and receiving your stream.


8. Copy SRT Publisher URL and set it as a Server within the OBS Studio.
Click OK.
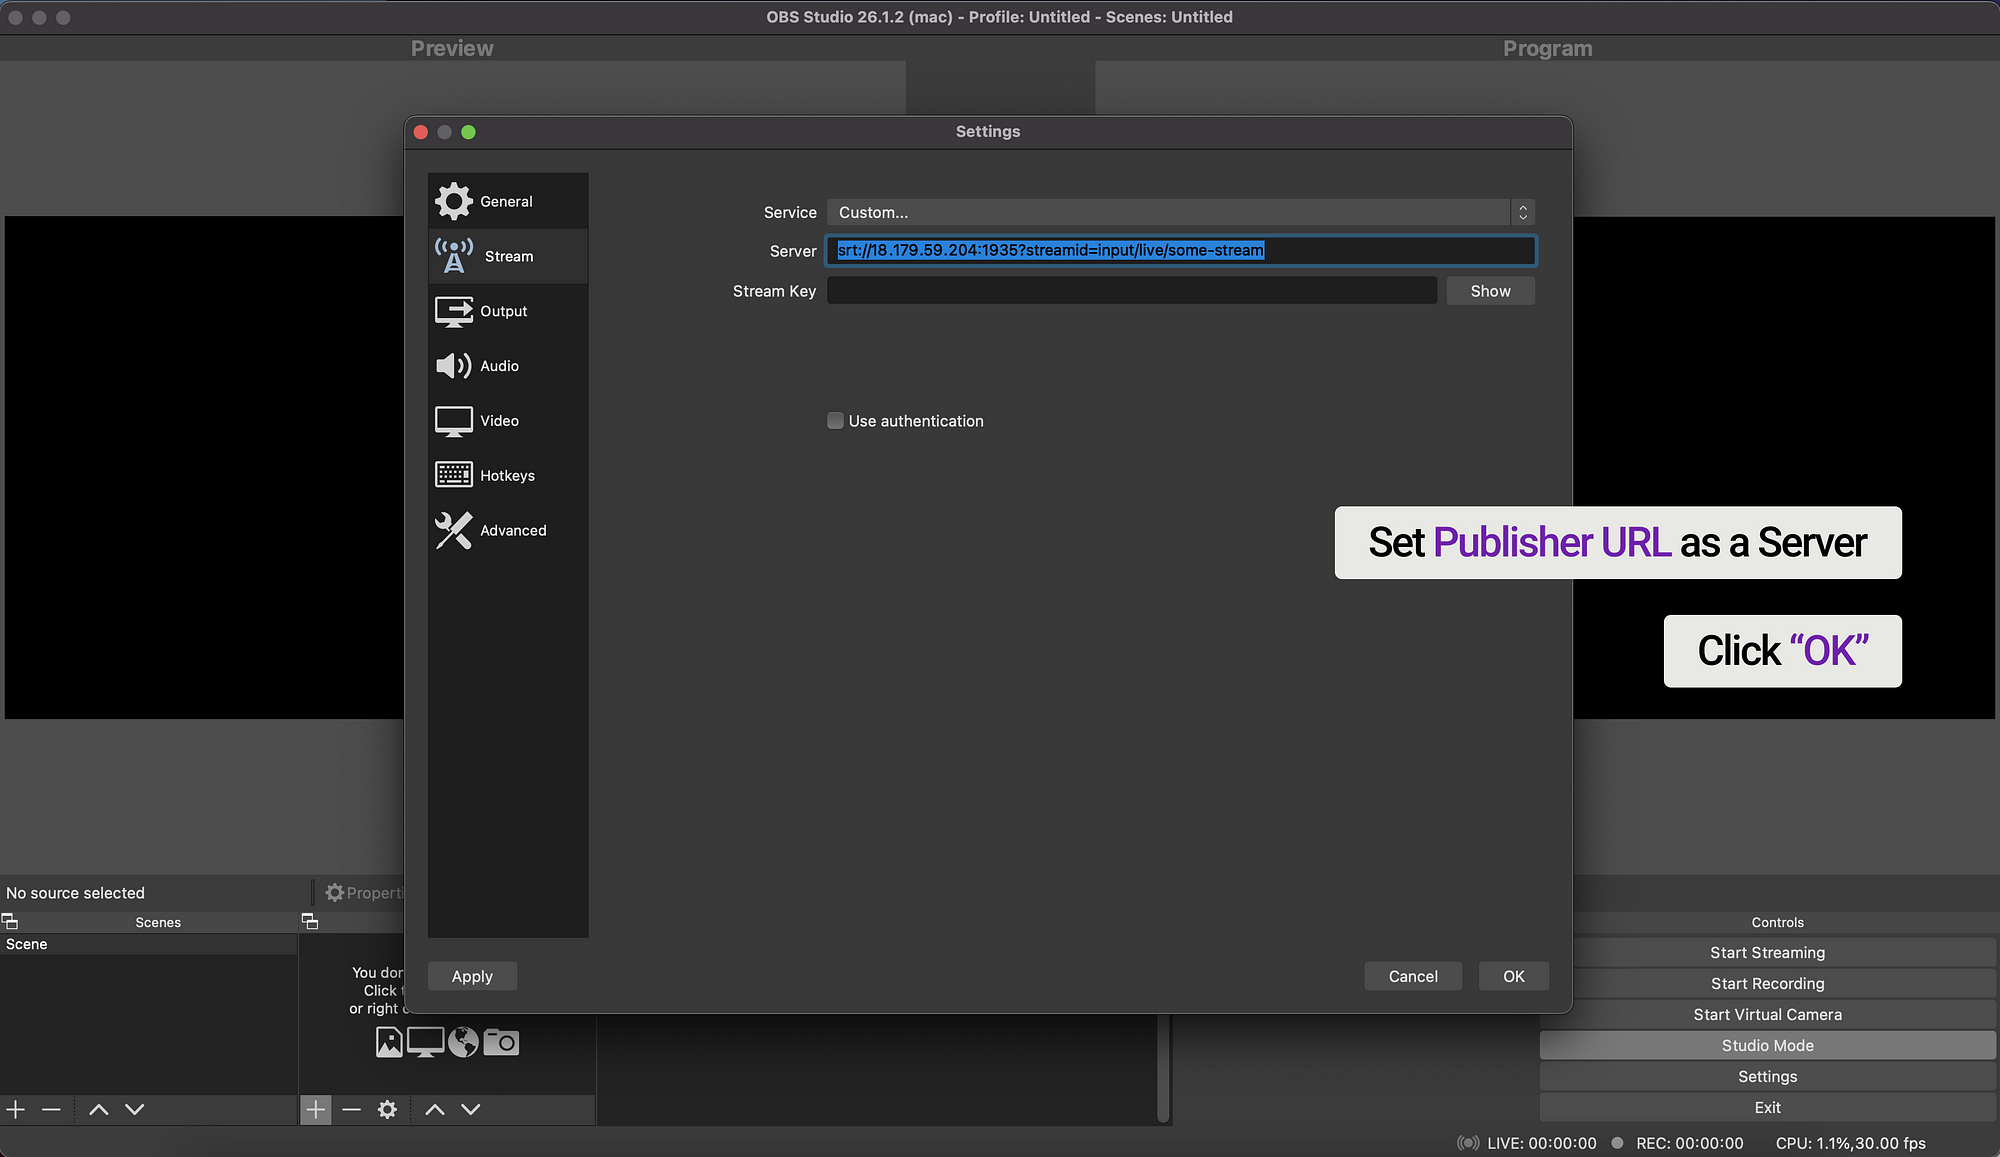
9. You are now ready to start broadcasting. In the lower right corner, find the Start Broadcast button. If everything is done correctly, at the very bottom of the program you will see a green indicator. If you encounter any difficulties while setting up, contact us via [email protected]
Happy streaming with Callaba Cloud!
Originally published at https://callabacloud.com


