How to use Callaba Cloud: from AWS launch to first SRT stream
More live video workflow notes and product updates.

Written by Iurii Pakholkov
Founder of Callaba. Building cloud video tools for SRT, RTMP, WebRTC, NDI, live routing, monitoring, recording, and production workflows · LinkedIn
The fastest way to start with Callaba is the cloud path. Launch Callaba Cloud on AWS, sign in to the dashboard, create your first SRT server, send a real stream from OBS Studio, and verify playback in VLC.
This page is built for one practical outcome: move from zero deployment to first working stream without assembling a streaming stack by hand first.
What you will accomplish on this page
This is a cloud-first getting-started path. It avoids abstract setup theory and moves directly to a real stream.
- Launch Callaba Cloud on AWS.
- Sign in to the dashboard safely.
- Create your first SRT server.
- Send a stream from OBS Studio.
- Receive and verify playback in VLC.
Pre-flight checklist
Prepare these items before opening AWS Marketplace.
- ☐ AWS account is ready.
- ☐ You know which AWS region is closest to the stream publisher.
- ☐ You can save an SSH
.pemkey safely. - ☐ You have OBS Studio installed for the first publish test.
- ☐ You have VLC installed for the receiver-side playback test.
- ☐ You understand that AWS charges while the instance is running.
- ☐ You will tighten security group rules after the first workflow is known.
Part 1. Launch Callaba Cloud on AWS
The AWS route is the fastest production-shaped way to start. You launch a real cloud instance, open the dashboard, and immediately get a controllable environment for ingest, routing, failover, recording and playback workflows.
Open the Callaba Cloud listing on AWS Marketplace and start the launch flow.
Choose a region close to publishers and viewers.
Use c5.xlarge as a practical early evaluation starting point if unsure.
Start from seller settings, then tighten ports after you know the workflow.
Save the .pem file safely in case direct instance access is needed later.
Start from the AWS Marketplace listing
Open the AWS Marketplace page and click Continue to Subscribe.

1. Accept the software terms
Accept the software terms before the configuration step becomes available.

2. Continue to configuration
When the subscription state changes, continue to the configuration screen.

3. Choose the AWS region
Choose the AWS region closest to the stream publisher. This usually matters more than the viewer location for the first ingest test.

4. Choose the instance type
If you are unsure about the first evaluation size, start with a practical instance type and adjust later after you know the workload.

5. Keep VPC and subnet simple for the first test
Leave VPC and subnet settings unchanged unless your team already has a specific AWS network design.

6. Create a security group from seller settings
Create the security group from seller settings for the first launch, then tighten inbound rules after you know which ports your workflow uses.


7. Verify that the new security group is selected
Make sure the group you created is selected before you move to the launch step.

8. Choose or create an EC2 key pair
Select an existing key pair or create a new one in EC2. Save the .pem file safely.


9. Launch the instance
Check the selected security group and key pair, then launch the software.

Part 2. Open EC2 and sign in to the Callaba dashboard
Once the instance is live, open the dashboard and remember the basic AWS operating rule: AWS charges while the instance is running. Do not leave test infrastructure up indefinitely.
10. Go from AWS Marketplace to the AWS Console
Open the AWS Console and go to EC2.

11. Check the region and open Instances
Make sure the same AWS region is selected, then open the Instances page.

12. Wait for the instance checks
Select the Callaba instance and wait until it is running and the status checks pass.

13. Copy Public IPv4 and keep the Instance ID
Copy the Public IPv4 address and open it in your browser with http://. Keep the Instance ID because it is used as the first password in this AWS Marketplace flow.

14. Sign in to Callaba
Use admin as the login and the EC2 Instance ID as the first password for this AWS Marketplace launch.

15. Remember the AWS cost rule
When your work is over, stop or terminate the EC2 instance so AWS does not keep charging for idle runtime.


Part 3. Create your first SRT server
Now move from deployment into actual streaming. SRT is a strong first workflow because it exposes the core logic clearly: one side publishes a stream into Callaba, and another side receives it from Callaba.
The port used when OBS or an encoder sends a stream into Callaba.
The port used when a receiver takes the stream out of Callaba.
A buffer that helps absorb network jitter.
Optional encryption/access control when the workflow needs it.
16. Open SRT Servers and add a new server
Go to SRT Servers and click Add New.

17. Fill the main SRT server settings
Use a recognizable name. Set the publisher port, receiver port, latency, optional passphrase, timeout and routing settings. Keep the first setup simple, then tune later after the stream works.


If you need a deeper explanation of this object, use the dedicated SRT server setup page.
Part 4. Send your first stream from OBS Studio
The next goal is to prove that real media can reach Callaba. Use OBS Studio as the first publisher.
18. Copy the SRT Publisher URL
In the SRT server list, open Info and copy the SRT Publisher URL. This URL is used by OBS or another publisher to send video into Callaba.

19. Paste the Publisher URL into OBS
Open OBS Studio, add your sources, go to Settings → Stream, paste the SRT Publisher URL into the server field, and start streaming. For a full OBS-specific guide, see how to start SRT streaming in OBS Studio.

20. Confirm OBS is sending bitrate
After starting the stream, check that OBS shows active bitrate. Then check Callaba for incoming stream activity before testing any receiver.

Part 5. Verify playback in VLC
After Callaba receives the stream, verify the receiver side. This proves that the stream can leave Callaba and be consumed by another tool.
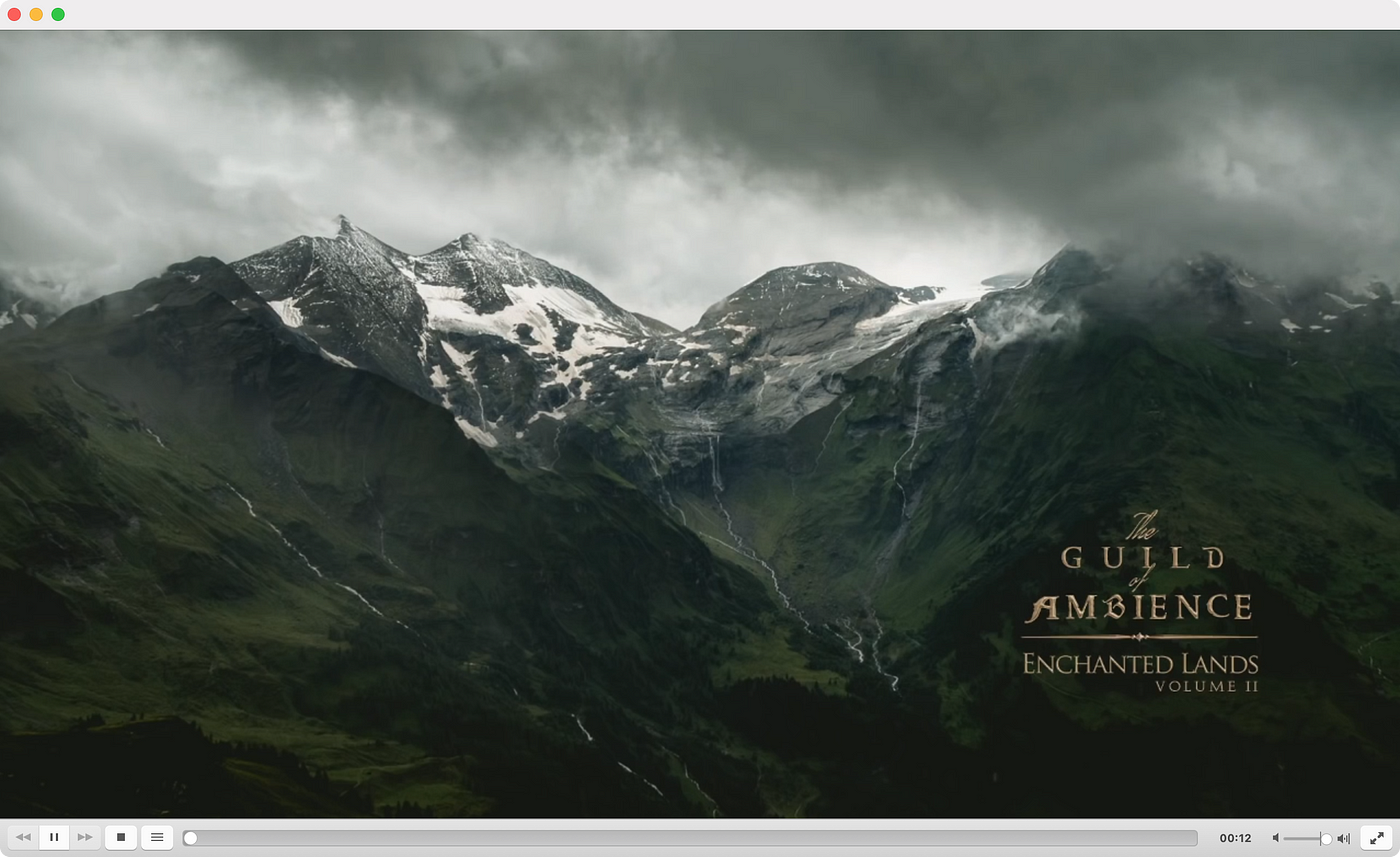
21. Use the SRT Receiver URL in VLC
The same SRT server info modal contains the Receiver URL. Copy the Receiver URL, open VLC, choose File → Open Network, paste the URL, and confirm playback.

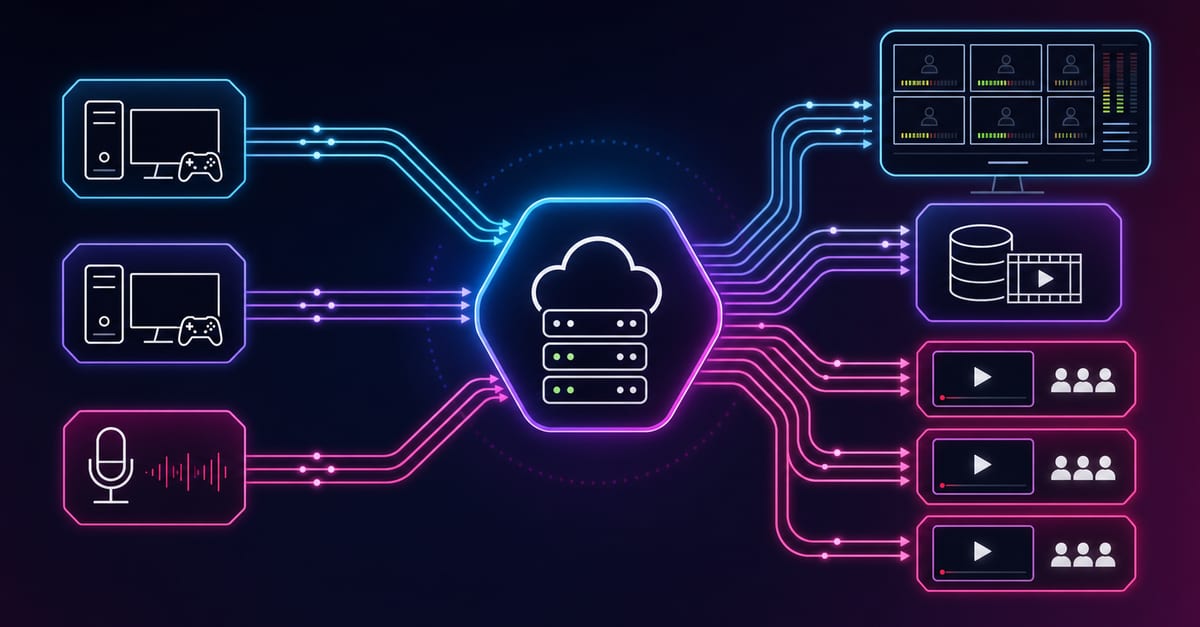
What to do next in Callaba Cloud
Once the first stream works, the cloud deployment becomes more than a demo. You can keep the same input and build real workflows around it.
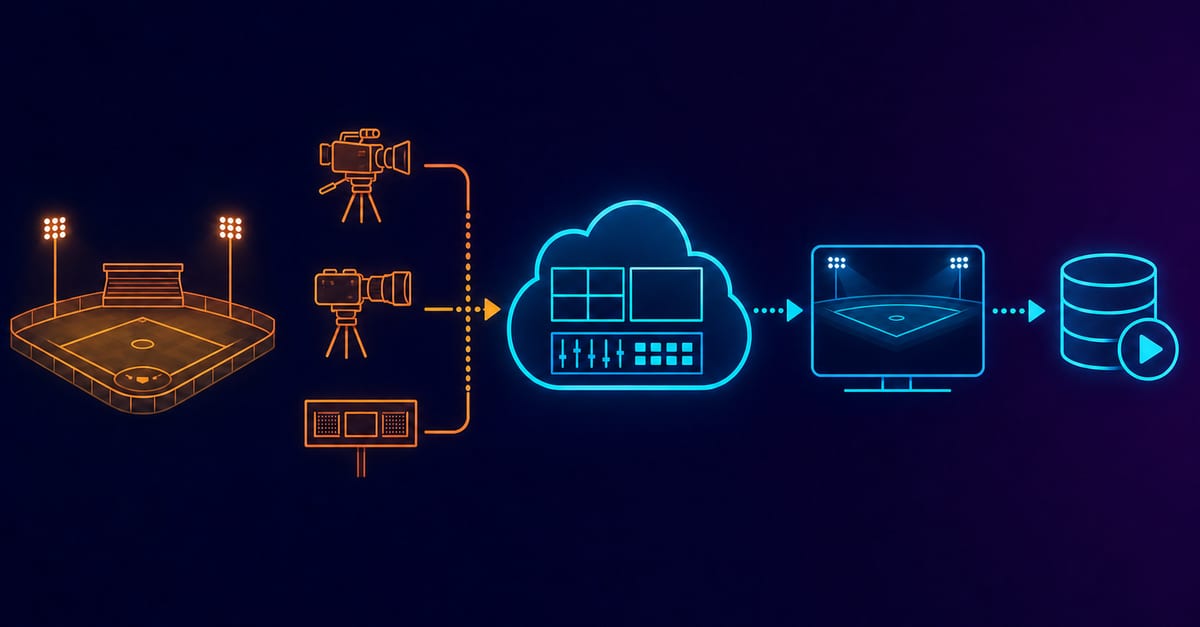
Watch several live inputs from one browser board.
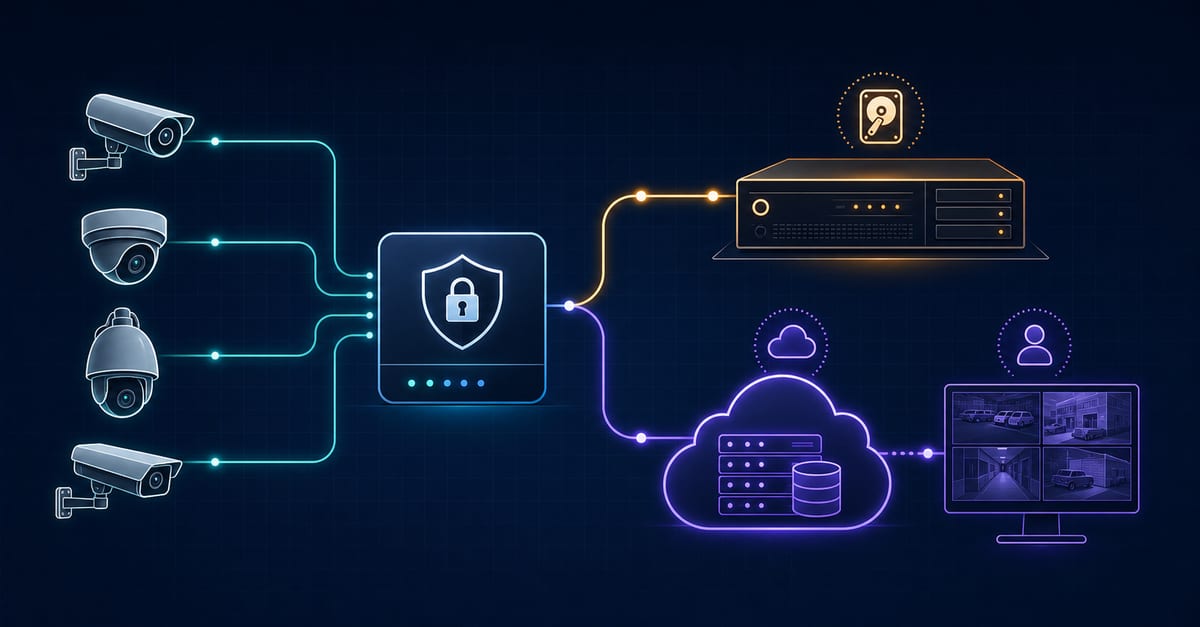
Save the incoming stream for archive, replay or post-production.
Send one input to multiple destinations.
Prepare a main and backup contribution path before the live window.
- Multi-streaming if one input needs to reach many destinations.
- Main/backup SRT failover if contribution continuity matters.
- Video API if the workflow needs software integration.
- Self-hosted streaming solution if later you need deeper infrastructure ownership.
Start with Callaba Cloud and your first SRT server
Launch Callaba Cloud, create one SRT server, send a real stream from OBS, and verify playback before adding multiview, recording, restreaming, failover, playback or API workflows.