Set up a business domain name — Setup CloudFront CDN for Live Events. Part III
More live video workflow notes and product updates.
In this tutorial, we’ll explain how you can set up a custom domain name for a CloudFront video distribution. Recommended product path: Ingest & route, Player & embed, Paywall & access. For this workflow, Player & embed is the most direct fit., and scaling guide. For implementation details, continue with Create a Virtual Events Platform Setup CloudFront CDN for Live Events. Part I and Monetize high quality SRT live streams with Pay Per View directly [2024 Guide to streaming innovation]. Before full production rollout, run a Test and QA pass with Generate test videos and streaming quality check and video preview. Before full production rollout, run a Test and QA pass with a test app for end-to-end validation.
This tutorial is the third part in our series on CloudFront.
There are quite a few reasons why you might want to attach your own domain name instead of using one that CloudFront has generated for you.
The most important reasons include:
Branding
- Enables custom branding and a professional appearance.
- Maintains a consistent brand identity across all online properties.
SEO Benefits
- Improves search engine rankings by using a recognized domain.
User Trust and Recognition
- Increases user trust by using a familiar and branded URL.
- Makes the website easier for users to remember and return to.
Flexibility and Control
- Provides full control over DNS settings, including subdomains and email services.
- Future-proofs your setup by allowing domain continuity if you change hosting or CDN providers.
Requirements
To complete this tutorial, you will need:
- A domain name
- Access to manage DNS settings for your domain name
If you’re unsure where to find these DNS settings, contact your domain name registrar.
Let’s get started!
First, we’re going to issue a certificate via AWS Certificate Manager (ACM).
Certificates issued by AWS Certificate Manager (ACM) are free to use with CloudFront.
● 1. Open AWS Certificate Manager
Make sure you have default region US East (N. Virginia) selected
Click “Request”
Then click “Next”

On the page that opens, specify your desired subdomain
Click “Request” again

● 2. On the new page that opens, AWS will generate some data to validate your domain ownership via DNS.

Open your domain’s DNS settings and create a CNAME record using the provided NAME and VALUE.

Now it is a waiting game.
CNAME records can take some time to propagate. Typically, certificate validation takes 30 minutes to 1 hour, but in rare cases, it can take up to 48 hours.

If you are setting this up for an event, ensure you allocate enough time for the process.
Once your certificate is validated, you’ll see a green word “Issued” next to it.

● 3. Let’s connect our subdomain name to CloudFront.
Open your CloudFront distribution settings and copy the domain name CloudFront has generated for you.
Go back to the DNS settings. Create a new CNAME record.
Type: CNAME
Name: subdomain
Value: CloudFront domain name (without https://)
Save your record.

● 4. Update CloudFront settings
Open your CloudFront distribution again.
In the “General” tab, find the “Settings” block.
Click “Edit”

In the page that opens, click the cute little “Add Item” button.
Specify your domain name.
From the Custom SSL certificate dropdown list, select your certificate.
Scroll down and save.

● 5. Important! Ensure you have correct cache settings.
We have a detailed tutorial explaining these settings and why they matter :
Part II — Caching .ts video fragments for HLS
In case you have not set these up yet, please make sure you do so.
Make sure you have a separate behaviour defining the caching of the .ts chunks, and check that your Default behaviour is set to CachingDisabled.

● 6. Test your setup.
To test your setup, turn your instance on. Once your instance is running, open your subdomain in your browser.
You should see Callaba dashboard login page. For production ingest and monitoring, see continuous streaming. For playback integration and analytics, use video api.

Log into the Callaba dashboard. Use your instance ID as the password, with “admin” as the login.
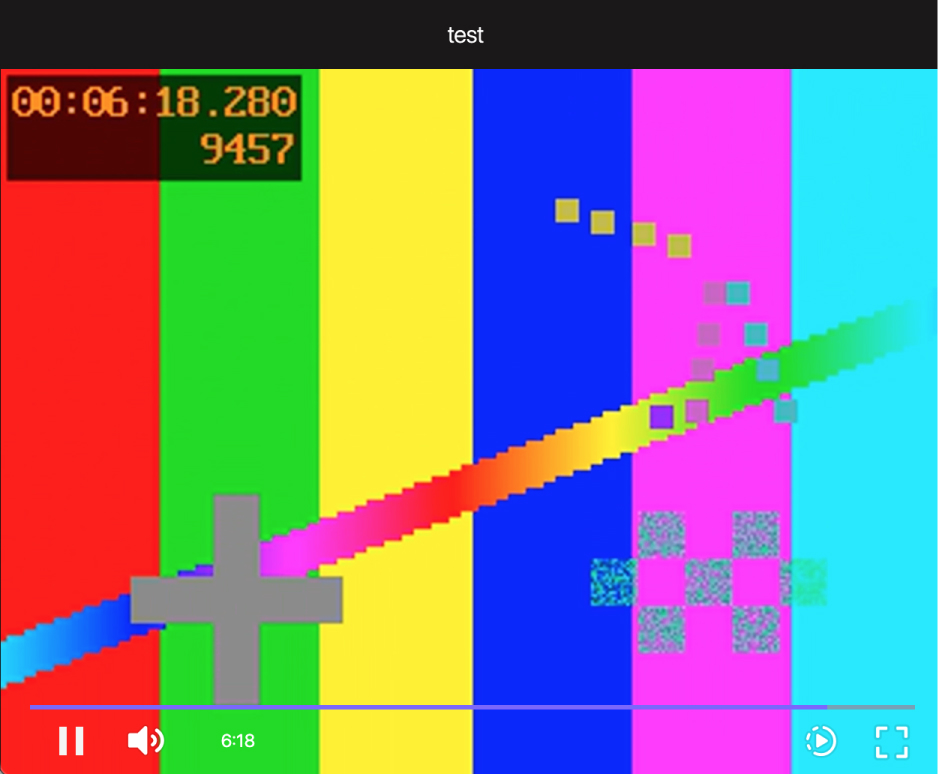
Now all you need to do is create a video player and see if your video is playing without any issues.
If you don’t have an actual stream at hand, you can generate test video within Callaba itself.
Here’s a detailed tutorial explaining how you can set this up :
How to generate Test Videos to test your setups
When you click on the info (i) icon on your Web Player, you will see your subdomain name in the player URL.

Open it and let your video play for a while to ensure the caching is set correctly and the video plays without any issues.
Congratulations. Great job!
++++++++++++++++++++++++++
This concludes the third part of the Callaba x CloudFront tutorial.
Try Callaba on AWS today.
Callaba takes just a few minutes to launch, and you get a 5-day free trial.
Enjoy 100GB/month of free data transfer in EC2 and 1TB/month of free data transfer for CloudFront.
If you have any questions, you can contact us at [email protected]
Happy streaming!
Learn more
- How to launch Callaba on Amazon Web Services
- How to create a playlist of videos with Pay Per View monetization
- Multilingual Web Player
- Set up SRT backup stream in case of main stream interruption
c