Real-time Video Monitoring via WebRTC
More live video workflow notes and product updates.
With the addition of Callaba’s Video Calls, you can now set up makeshift remote monitoring practically on-the-go. All you need is smartphone or a laptop with a camera. For production ingest and monitoring, see continuous streaming. For playback integration and analytics, use video api. Recommended product path: Ingest & route, Player & embed, Paywall & access, Calls & webinars. For this workflow, Player & embed is the most direct fit., and scaling guide.
Video Calls in Callaba are completely private and secure.
We don’t have access to your server (whether in the cloud or self-hosted). And so we are not collecting any data about the contents of your video calls.
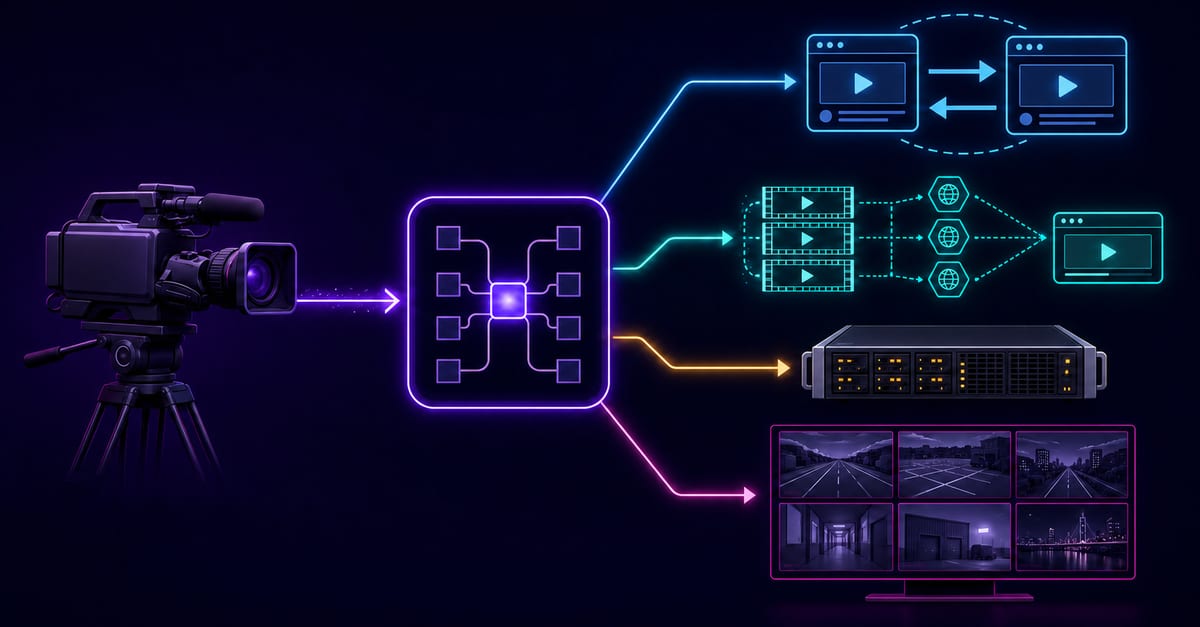
Why would you want to use real-time monitoring via WebRTC?
✅ Easy to set up. You can use any web/IP camera or even a camera on your smartphone.
✅ Control and remote supervision over important processes.
✅ Real-time monitoring and decision-making with WebRTC protocol.
✅ Video recording in the cloud.
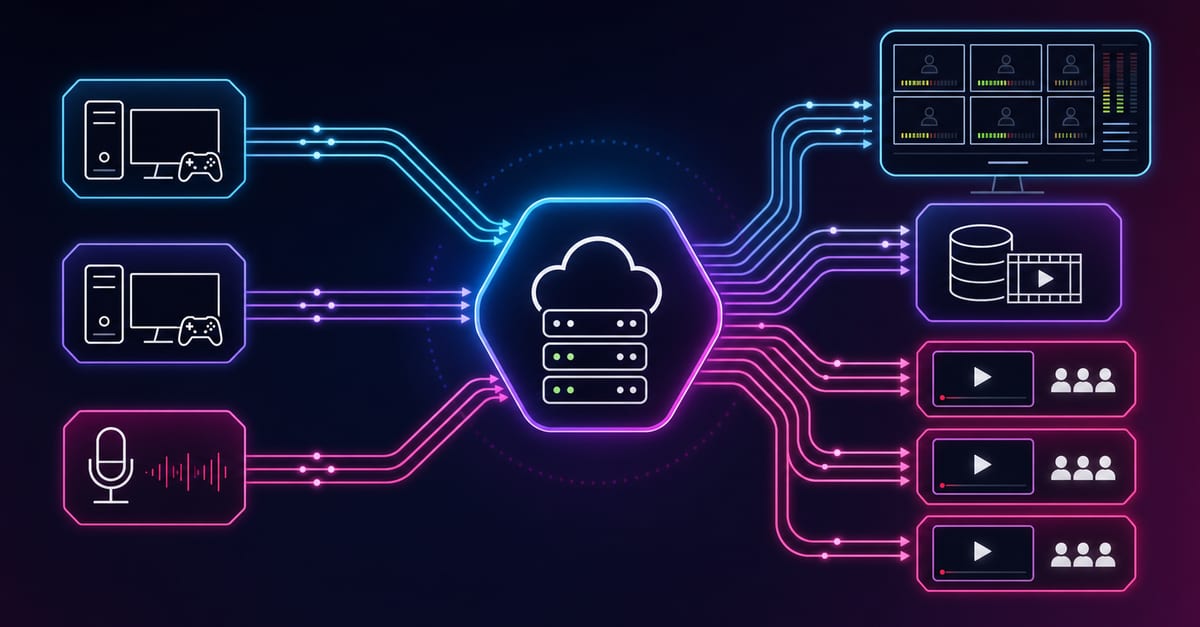
What are we going to build
Before we begin, let’s take a moment to visualize what we are going to be building.

Important
For video calls to work across all browsers without them considering you unsafe, you will need :
- domain name
- SSL certificate
Luckily, in Callaba you can set all that via user interface. No SSH connection, no tinkering with the command console is required.
So let’s do it!
1. Set up "A" DNS record
1. First step is to create an “A” DNS record to associate your domain name with the IP address of your server.
You can add “A” DNS records in the DNS management interface of your domain registrar or DNS hosting provider.
If you are using a server in the cloud, make sure it has a permanent IP address. With AWS, you can associate an Elastic IP with your instance, it takes less than a minute to set up.
📖 How to set up Elastic IP address on AWS
Create a subdomain
1.1 Log in to your domain registrar's or DNS hosting provider's control panel.
- Find the DNS management section or DNS settings in your account dashboard. This might be called something like "DNS Management," "DNS Settings," or "Manage Domains." and create an A record for your subdomain (for example,
live.mywebsite.com). - Locate the option to add a subdomain. It might be under a section named "Subdomains," "Add Subdomain," or similar.
1.2 Enter the subdomain you want to create. For example, if you want to create a subdomain called live for your domain mywebsite.com your complete subdomain would be live.mywebsite.com.Save or create the subdomain.
Attention!
You will need to create different subdomains
- for your main Domain name
- for TURN domain name
- for WebRTC domain name
Here you can take a look at the example setup of subdomains for TURN and WebRTC made in CloudFlare.

"A" DNS record
1.3 Point this A record to the static public IP address of your server. This step tells the DNS system that requests for live.mywebsite.com should be directed to your server's IP address.
Example:
- Subdomain:
live - Type: A
- Value: IP address of your server
Once you’ve done that, ensure your “A” DNS records have applied and are present on www.nslookup.io.
In some cases, DNS records can take up to 72 hours to update.
2. Open Callaba > General Settings > unfold SSL Certificate settings
Choose either the free auto-renewing Let’s Encrypt X.509 certificate or upload your own certificate.

3. Specify your Domain name and Streaming domain name.

4. Unfold Video Calls Settings
Specify your TURN domain name
Specify your WebRTC domain name

Make sure to not disable port 80 until you have configured the domain and SSL certificate.
2. Set up Video Calls
1 . Go the Video Calls Section, click “Add New”
Create a Name for your room.
Click “Save”

2. In the Video Calls listing page, click “Info” (i)
Copy the Meeting URL

3. Open the Meeting URL in the browser on your computer or mobile device.
You’ll see pop-ups asking you to allow to access microphone and camera. Grant permissions.
Select your preferred camera and microphone.

4. Share the link with other people who need access to the video stream.

Tada! Done.
If you have any questions, please contact us at: [email protected]
We will respond to you within 48 hours.
Happy streaming!
Related articles :
How to launch Callaba Cloud Live Streaming
How to start streaming in OBS Studio over the SRT Protocol
How to multi-stream from OBS Studio to Twitch, Youtube and Facebook
How to multi-stream from Wirecast to Twitch, Youtube & Facebook