Install Callaba 8.2 on Linux: HDR, HEVC, AV1, VP9, and Video Conferencing Profiles
More live video workflow notes and product updates.
Callaba 8.2 is the installation path for teams that need newer encoding profiles, broader codec support, and a stronger base for advanced live, on-demand, and video conferencing workloads. If your deployment depends on HDR-related profiles, HEVC, AV1, VP9, or more flexible video-call encoding options, this is the version to start from.
This page is intentionally practical. It explains which Linux host to prepare, which install mode to choose, how to launch the dashboard, and what to do next after the first login. If you need the broader self-hosted product scope and pricing first, start with Callaba Self-Hosted overview and pricing. If you want the fastest evaluation path before managing your own Linux infrastructure, start with Callaba Cloud on AWS and move to self-hosted when the workflow needs more control.
The main release-level changes in 8.2 are straightforward: newer encoding profiles, more control over video encoding settings, and broader codec availability for real-time conferencing workflows.
What is new in Callaba 8.2
- new encoding profiles including range extensions, screen-content-oriented profiles, and 10-bit options
- new controls for video encoding settings
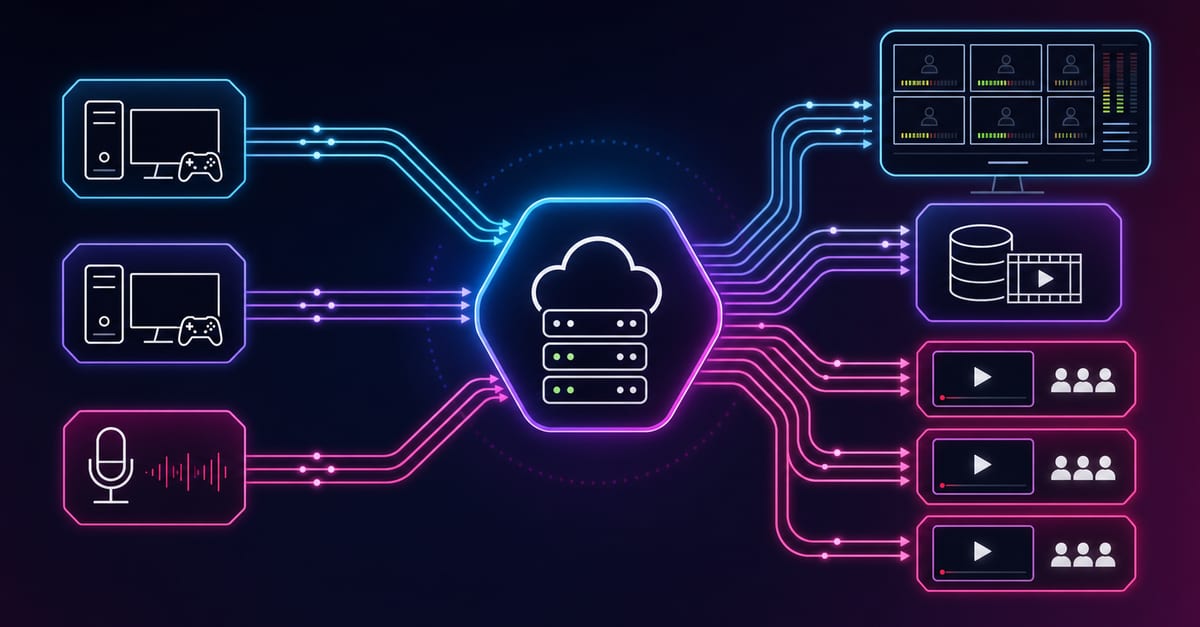
- expanded codec availability for WebRTC and video conferencing workflows, including H.265, VP9, and AV1
This version makes the most sense when your team is not just installing a server, but building a media workflow that needs better codec flexibility, better profile control, or a stronger base for conferencing and real-time video products.
Requirements
- Ubuntu 22.04
System requirements
Minimum: 4 vCPUs, 4 GB RAM, 60 GB SSD
Recommended: 8 vCPUs, 8 GB RAM, 100 GB SSD
Recommended OS: Ubuntu 22.04
The minimum profile is acceptable for lightweight evaluation. If you are testing heavier transcoding paths, codec experiments, recordings, or conferencing workloads, use the recommended profile so the install does not look artificially unstable under load.
Step 1. Download the installation files
Open the terminal and clone the repository:
git clone https://gitlab.callabacloud.com/callaba-8/linux-8.2.gitThen move to the project directory:
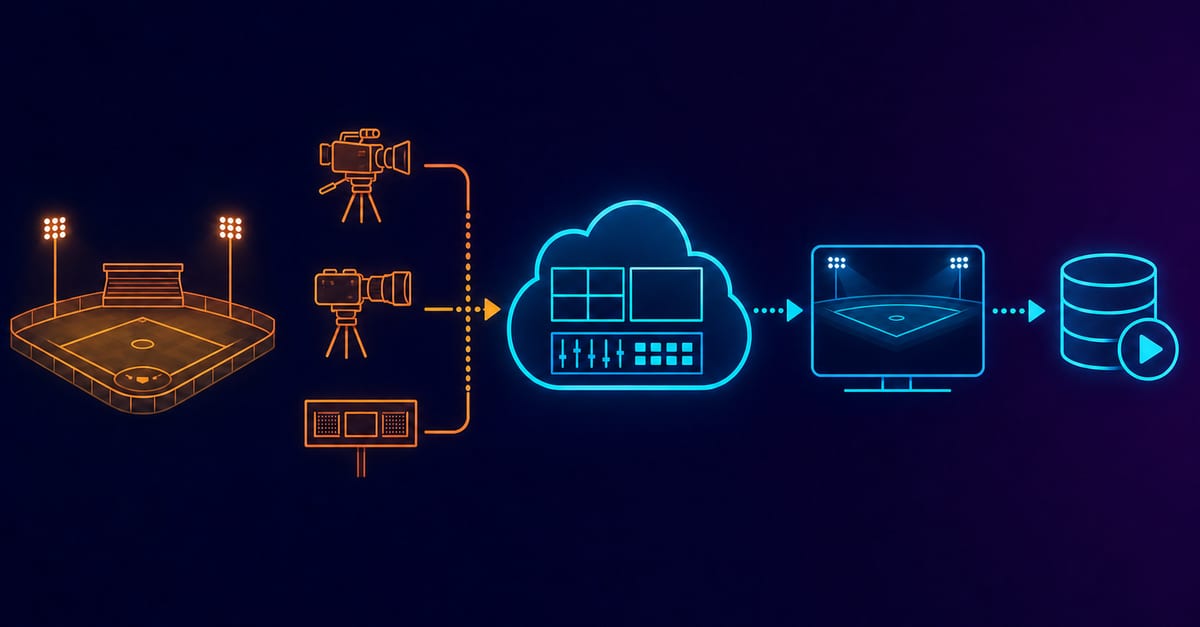
cd linux-8.2/If the target deployment is meant to power production ingest, routing, or application workflows after installation, the most relevant next product pages are Multi-Streaming, Video API, and Video on Demand. If the system is meant to support conferencing workflows specifically, keep in mind that this build is also meant to improve the codec and profile layer used by those real-time paths.
Step 2. Choose the right installation mode
Callaba 8.2 supports three practical install modes:
- CPU-based processing
- NVIDIA-accelerated processing
- Xilinx-accelerated processing
The right choice depends on what the machine actually has and what the workflow needs. Choose the hardware-assisted path when your deployment depends on denser transcoding, better acceleration efficiency, or a more demanding codec profile strategy.
Option 1. Install with regular CPU transcoding
sudo bash install.sh 8.2.p.NDI.preIf mDNS creates problems, run a system upgrade and reboot the machine before retrying the install.
Option 2. Install with NVIDIA GPU support
Use this path if the machine includes an NVIDIA GPU:
sudo bash install.sh 8.2.p.NDI.pre nvidiaOption 3. Install with Xilinx acceleration
Use this path if the machine includes a Xilinx Alveo accelerator card by AMD:
sudo bash install.sh 8.2.p.NDI.pre xilinxIf your real need is GPU-assisted or accelerator-assisted production, do not choose the CPU path just because it is simpler. Pick the install mode that matches the hardware and intended media workload from the beginning.
Step 3. Launch the Callaba dashboard
After installation, wait about two to three minutes for the dashboard to initialize. Then open the host IP address of the machine in the browser.

This is the point where teams should validate that the instance is actually ready, not just that the script finished. If the dashboard is not reachable, fix the host, IP, firewall, or service state before moving into configuration.
Step 4. Sign in and activate the installation
The default login pattern is:
- Login:
admin - Password: your server or local IP address without
https:// - License: use your license key
To purchase or manage the license, use your Callaba account for the on-premises version.
If you are evaluating the self-hosted route commercially, this is also the point to compare it against Callaba Cloud. Self-hosted is the right choice when infrastructure ownership, deployment control, or custom media architecture matters more than launch speed.
Update or deploy a custom build
To update Callaba, run:
sudo bash update.sh VERSION GPU_TYPEWhere GPU_TYPE is one of:
cpunvidiaxilinx
Use the update path deliberately. Production-grade video systems should treat version changes as controlled change windows, especially when codec behavior, profile handling, or conferencing paths are involved.
Uninstall
To remove Callaba completely, run:
sudo bash remove.shThis deletes the installed data and images, so do not use it casually on systems that still hold retained media or active configuration state.
Reset the password
To reset the Callaba password, run:
sudo bash reset-password.shThis is useful when the instance has already moved beyond first-login defaults and the team needs to restore admin access cleanly.
Upgrade from version 7
If you are moving from version 7:
- Export all settings from version 7 by navigating to General settings to Export settings.
- Remove the old version:
bash remove.shThen follow the steps in this installation guide and validate the new instance before reconnecting production workflows.
Support
Use the Contact Support button directly from the dashboard if you need help during deployment or activation.

You can also reach us at [email protected].
Final practical rule
Choose the 8.2 installation path when the deployment really needs the newer encoding profiles, codec flexibility, or conferencing-oriented media capabilities. Then match the install mode to the actual hardware, validate dashboard access immediately after setup, and treat updates and migration steps as controlled production changes rather than simple package refreshes.