OBS Studio Tutorial: Beginner-to-Production Setup That Actually Works
More live video workflow notes and product updates.
An OBS Studio tutorial is useful only when it helps you move from first launch to stable real streams. Most guides stop at interface tour and basic scene setup. Real users need more: how to avoid lag, how to prevent audio failures, how to configure profiles for different stream goals, and how to run repeatable preflight checks before going live. For this workflow, Paywall & access is the most direct fit.
This tutorial follows current search intent for “obs studio tutorial”: quick start, beginner setup, practical settings, and troubleshooting. It is written to be immediately actionable for creators, teams, and operators who need predictable quality under live conditions.
What You Need Before Opening OBS
Set baseline expectations before you touch any settings. OBS cannot compensate for every weak link in your workflow. Stable output requires enough encoder headroom, a clean audio chain, and a known destination path.
- A machine with consistent CPU/GPU headroom for your target resolution and FPS.
- A stable upload path, not only a high peak speed result.
- One destination to validate first (Twitch, YouTube, custom ingest).
- A fallback mindset: continuity first, visual peak second.
Step 1: Install OBS Safely and Lock Version
For this query, search results include official and mirror-like sources. In production, use official release channels and lock version changes to maintenance windows. Do not upgrade right before important streams.
Version drift is one of the most common causes of stream instability, especially when plugins or browser sources are involved. Keep a short change log so operators can trace behavior changes quickly.
Step 2: Understand the OBS Layout Fast
Beginners waste time exploring every menu. Focus on the controls that affect live outcomes:
- Scenes: your show structure and transitions.
- Sources: camera, display, browser overlays, media files.
- Audio Mixer: your most critical reliability zone.
- Controls: start/stop stream, recording, studio mode.
- Settings: output, video, stream target, hotkeys.
If you are new, pair this page with how to use OBS Studio and how to set up OBS for UI-specific walkthroughs.
Step 3: Build Your First Stable Scene Collection
Create a minimal scene set first:
- Starting soon scene.
- Main live scene.
- Break/intermission scene.
- Ending scene.
Keep source count low in version one. Every added browser layer or animated element increases runtime risk. You can add complexity later after stability is confirmed.
Step 4: Configure Output Settings for Reliability
Use conservative defaults and validate in rehearsals:
- Choose one base resolution and one output resolution.
- Use a frame rate your system can sustain for full session duration.
- Set bitrate in a stable range for your destination and uplink quality.
- Align keyframe interval with platform requirements.
- Select encoder preset for consistent performance, not short test peaks.
Detailed bitrate references: OBS bitrate, best bitrate for streaming, bitrate for 1080p.
Step 5: Audio Setup (Most Important)
Audio failures create immediate churn. In many streams, users tolerate softer video quality longer than unstable speech. Treat audio as the primary quality gate.
- Set one primary microphone and verify gain at normal speaking volume.
- Avoid aggressive filter stacks until baseline is proven stable.
- Monitor clipping and gate behavior in test recordings.
- Keep one backup input route ready.
If your content is voice-heavy (education, webinars, commentary), prioritize intelligibility over “broadcast-style” effects.
Step 6: Connect Destination and Validate Stream Key
Before first live run:
- Verify stream key access and permissions.
- Confirm destination profile (latency mode, DVR, replay settings).
- Run a short private stream test.
- Check playback on desktop and mobile endpoints.
Related key management guides: how to find stream key, how to get stream key, how to find Twitch stream key.
Step 7: Rehearsal Flow Before Going Public
Do one complete rehearsal with real scene transitions, overlays, and speaking pace. Ten-minute synthetic checks are not enough for long sessions.
- Rehearse at planned stream duration whenever possible.
- Record CPU/GPU load and dropped-frame behavior by segment.
- Test from at least two network/device conditions.
- Practice fallback switch once before event day.
Step 8: Create Profile Families
Keep three profile families in OBS:
- Baseline: conservative and stable under uncertain conditions.
- Standard: normal operation with moderate quality improvements.
- Event: high-impact sessions with strict rollback triggers.
This approach prevents panic tuning while live. Operators switch between tested profiles rather than improvising under pressure.
Step 9: OBS for Twitch and YouTube Contexts
Different destinations create different risk patterns. Twitch sessions are often long and interaction-heavy. YouTube sessions may require different keyframe and latency expectations. Validate each path separately.
For Twitch-specific tuning, use OBS settings for Twitch and how to stream on Twitch PC. For broader tutorial continuity, keep OBS tutorial and how to stream with OBS in your workflow docs.
Step 10: Troubleshooting Guide You Can Execute Fast
Problem: Dropped frames increase over time
Reduce scene complexity first, then check encoder preset and upload consistency. Avoid changing multiple output variables at once.
Problem: Audio crackling or clipping
Check interface sample rates, gain staging, and filter stack order. Disable non-essential filters and retest.
Problem: Stream starts slowly
Validate keyframe policy, destination ingest status, and heavy source initialization at startup.
Problem: Inconsistent quality across devices
Compare behavior by cohort (mobile/desktop/embedded) and test fallback profile impact before broad changes.
Operational Checklist for Event Day
- T-60m: verify sources, mic path, output profile, backup path.
- T-20m: private destination test and player checks.
- T-5m: freeze non-critical changes.
- Live: monitor startup reliability and continuity metrics.
- On alert: apply approved fallback first, analyze second.
This runbook structure is simple enough for small teams and robust enough for recurring production cycles.
When OBS Is Not Enough Alone
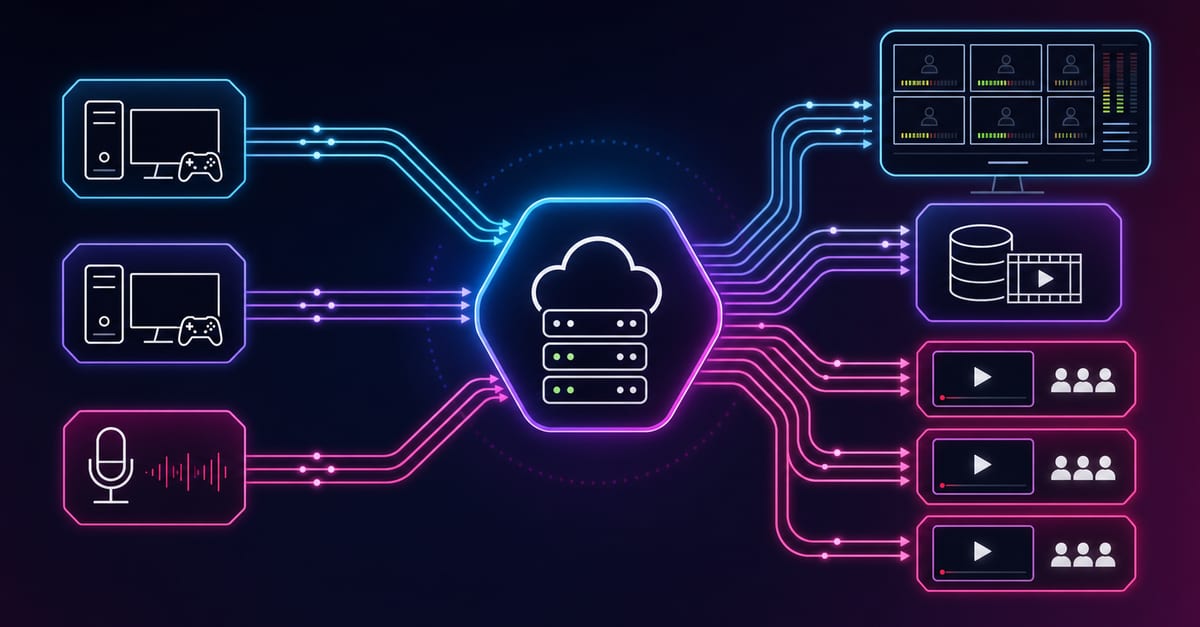
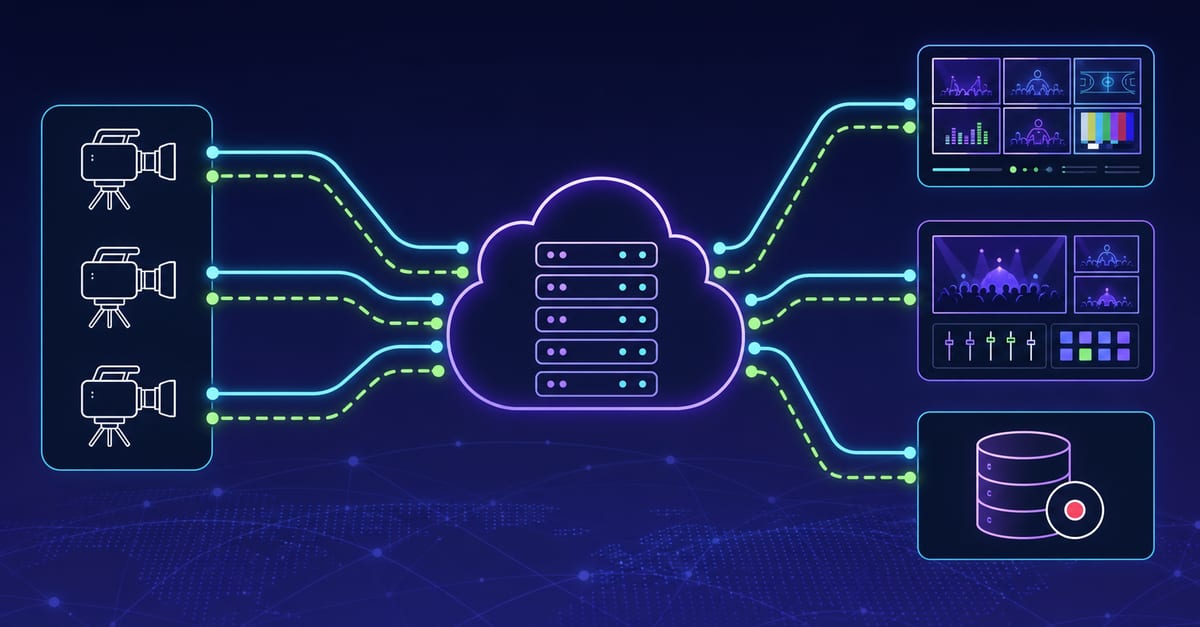
OBS is excellent as a production client, but scaling distribution requires routing and playback control beyond the desktop app. For repeatable operations:
- Contribution and routing: Ingest and route.
- Playback and embeds: Player and embed.
- Automation and integrations: Video platform API.
This architecture reduces failure blast radius and keeps operator responsibilities clear.
KPI Model for OBS-Based Workflows
Track metrics that support decisions:
- Startup success rate under target threshold.
- Continuity quality: interruption ratio and duration.
- Recovery time after profile switch or incident.
- Operator response speed from alert to validated fix.
Use KPI history to approve profile promotions. If a profile looks sharper but increases interruption risk, it is not production-ready.
Use the bitrate calculator to size the workload, or build your own licence with Callaba Self-Hosted if the workflow needs more flexibility and infrastructure control. Managed launch is also available through AWS Marketplace.
For infrastructure-control planning, evaluate self hosted streaming solution. For faster procurement and cloud launch, compare the AWS Marketplace listing.
FAQ
Is OBS Studio good for beginners?
Yes. It has a learning curve, but beginners succeed faster when they follow a constrained setup: minimal scenes, conservative output settings, and one rehearsal checklist.
How long does it take to learn OBS well enough for live streaming?
Most users can run a basic stream in one day. Reliable production operation usually takes a few rehearsal cycles with documented troubleshooting patterns.
What is the best OBS setting for all streams?
There is no universal setting. Stable profiles depend on your device, content type, destination platform, and network conditions.
Should I stream and record at the same time in OBS?
You can, but only after confirming headroom. Simultaneous record+stream increases resource load and may reduce stability on weaker systems.
What is the fastest way to improve my OBS stream quality?
Stabilize first: clean audio, consistent frame pacing, and tested fallback profile. Then tune bitrate and visual details in small increments.
How often should I change OBS profiles?
Only during planned windows. Avoid day-of-event profile experiments unless you are in controlled emergency fallback mode.
Can OBS support multi-stream outputs?
Yes, but direct complexity rises quickly. For better resilience, use one controlled contribution path and handle distribution in a routing layer.
How do I keep OBS workflows consistent in a team?
Use versioned scene collections, profile naming standards, and short postmortem notes after each major stream.
Final Action Plan
- Create one baseline profile and one fallback profile today.
- Run one full rehearsal with your real scene package this week.
- Document one operator-owned runbook for preflight and recovery.
- Promote only settings that reduce continuity variance over multiple runs.
An OBS Studio tutorial should end with operational confidence, not just menu familiarity. Use this guide as a repeatable framework and refine one step per stream cycle.
Advanced Practical Notes
As your streams mature, move from “does it work” checks to “does it stay stable for the full session” checks. That shift changes outcomes more than any single setting. Validate scene transitions under pressure, verify audio consistency after long runtime, and keep one rollback profile that operators can apply instantly without debate. Teams that systematize these small actions usually outperform teams that constantly rebuild templates from scratch.
Also standardize naming: scene names, profile names, and output targets should be readable by any team member at a glance. Clear naming reduces wrong-action errors during incidents and shortens onboarding time for new operators.
Template for Post-Stream Review
- What was the first sign of user-visible impact?
- Which mitigation was applied and by whom?
- How long until playback continuity returned to baseline?
- What profile or source change should be promoted or reverted?
- What one runbook improvement is required before next stream?
Keep this review lightweight and consistent. Repetition improves reliability faster than occasional major redesigns.
Profile Mapping by Stream Type
Different stream classes need different defaults. A single universal profile creates hidden risk because audience expectations and failure tolerance differ by format. Use a profile map that operators can apply quickly:
- Education and webinars: prioritize speech clarity, stable startup, conservative bitrate.
- Gaming and watch-alongs: prioritize motion continuity with controlled fallback thresholds.
- Product demos: prioritize readability of UI/text and low interruption during conversion windows.
- Community broadcasts: prioritize reliability and simple operator actions.
Profile mapping makes decision-making faster. Instead of arguing about one perfect setup, teams choose the profile family that matches the event class and known risk envelope.
Rapid Diagnostics During Live Sessions
When incidents happen, use this short sequence to avoid random retuning:
- Confirm whether impact is source-side, platform-side, or audience-cohort specific.
- Check if degradation started after a specific scene/source transition.
- Apply pre-approved fallback profile before changing fine-grained settings.
- Validate recovery using viewer-facing playback checks, not only local dashboards.
- Log timestamp and action for post-stream review.
This sequence minimizes rollback time and keeps the team aligned when pressure is highest.
Scaling from Solo Creator to Team Operation
Solo creators can manage OBS manually, but teams need process boundaries. Assign ownership for profile changes, stream key management, and incident communication. Keep one source of truth for scene collection versions and runbook updates. These controls prevent silent drift and reduce repeated errors across recurring streams.
If your stream program is growing, treat OBS tutorial knowledge as onboarding material, then enforce operational standards through checklists and measurable quality gates.
Short Reliability Booster
Before every stream, run a five-minute controlled warmup with real scenes and voice. Confirm startup, monitor mixer behavior, and verify that fallback profile can be activated without delay. This micro-check catches drift from plugin updates, accidental source edits, and audio route changes that often break sessions at the first critical minute.
Use the same warmup ritual every time and log outcomes in one place. Consistency in this small practice usually reduces incident frequency more than continuous settings experimentation.