How to live stream on YouTube: practical step-by-step guide for reliable live sessions
More live video workflow notes and product updates.
Going live on YouTube means publishing a real-time video session from your channel so viewers can watch, chat, and react as it happens. This guide is for solo creators, teams, operators, educators, and brands that want to start streaming quickly without getting blocked by setup mistakes, bad ingest settings, or missed policy requirements.
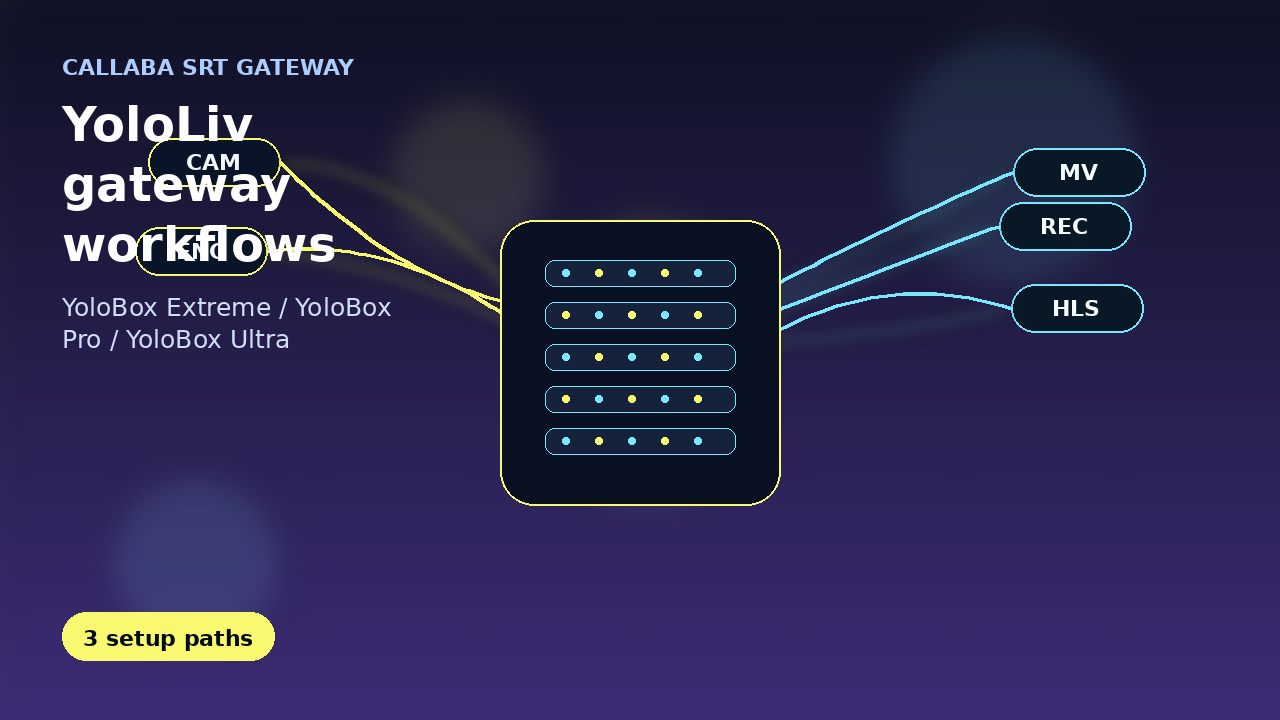
You have three practical ways to stream on YouTube: webcam for simple desktop sessions, mobile for on-the-go live video from the YouTube app, and an encoder for screen share, scene switching, overlays, and tighter audio/video control. The right choice depends on the session, not on how “professional” the setup looks.
The goal here is simple: get you live with a clean setup, reduce failed starts, and give you a repeatable workflow your team can use every time.
Quick answer: fastest way to go live on YouTube
The fastest desktop path is the webcam option in YouTube Live Control Room. In YouTube Studio, click Create, then Go live, choose Webcam, allow camera and microphone access, enter your title, set privacy and audience, and click Go live.
- Open YouTube Studio.
- Click Create > Go live.
- Select Webcam.
- Grant mic and camera permissions in your browser.
- Add a title and optional description.
- Choose Public, Unlisted, or Private.
- Set the audience option correctly.
- Click Go live.
This is enough for Q&A sessions, basic updates, internal broadcasts, simple interviews, and straightforward talking-head streams. Switch to an encoder when you need screen sharing, multiple cameras, graphics, overlays, media playback, cleaner audio routing, or more control over bitrate and stream stability.
Eligibility checklist before your first stream
Before your first live session, confirm the basics. Most first-time failures happen here, not in the encoder.
Use the bitrate calculator to size the workload, or build your own licence with Callaba Self-Hosted if the workflow needs more flexibility and infrastructure control. Managed launch is also available through AWS Marketplace.
Choose your streaming method: webcam, mobile, or encoder
Pick the method that matches the job.
- Webcam: best for simple sessions on a laptop or desktop. Use it for quick updates, direct-to-camera streams, interviews with minimal production, or when you need the shortest path from setup to live.
- Mobile: best for on-the-go streaming, events, field updates, and situations where the phone camera is the whole production setup. It is fast, but you have less control over audio, framing, and graphics.
- Encoder: best when you need screen share, multiple scenes, overlays, branded lower thirds, external cameras, better microphones, audio mixing, guests, or a more controlled technical workflow.
If this is your first stream, start with webcam unless you already know you need scene-based production. If you need reliability under pressure, an encoder is usually the better long-term choice because it gives you more control over the signal YouTube receives.
If you need to repeat one live signal to multiple platforms without overloading the local machine, run single-ingest fan-out with multi-streaming. For infrastructure choice, decide early whether you will run on AWS deployment or a self-hosted setup, then keep the same model for rehearsal and live day.
Live Control Room setup: title, privacy, scheduling, thumbnail, audience setting
Live Control Room is where small setup choices become either a smooth launch or a last-minute problem. Fill in the fields deliberately.
- Title: make it clear and specific. Your operator should be able to confirm the right event at a glance.
- Privacy:
- Public for discoverable live sessions.
- Unlisted for rehearsal links, invited viewers, or semi-private events.
- Private for internal testing and restricted access.
- Schedule vs go live now: schedule when you want a shareable event page, a waiting room, and prep time. Use go live now for spontaneous or low-risk sessions.
- Thumbnail: add one if the session is public or scheduled. It improves clarity for viewers and helps internal teams confirm they are promoting the right event.
- Audience setting: choose correctly whether the stream is made for kids or not. This is not cosmetic. If you mark a stream as made for kids, interactive features such as live chat may be limited or disabled, which affects moderation and audience engagement.
If you are using an encoder, Live Control Room also gives you the stream key. Treat it like a password. Do not paste it into shared chats, do not reuse a compromised key, and regenerate it immediately if you think it was exposed. The encoder must use the matching stream key for the specific event or persistent stream setup.
Encoder setup that avoids most YouTube ingest errors
If you are using OBS, vMix, Wirecast, Streamlabs, or similar software, keep the first configuration boring and stable. Fancy settings break more streams than they improve.
- Use RTMPS: prefer RTMPS over plain RTMP so the stream is sent over a secure connection. This is the safer and more standard choice for YouTube ingest.
- Set keyframe interval to 2 seconds: this is the practical default that works well with YouTube ingest and avoids common warnings.
- Use CBR: constant bitrate is the safest default for live streaming. Variable spikes can create instability even when average bandwidth looks fine.
- Use sane resolution/bitrate pairs:
- 720p at 30 fps: roughly 3 to 5 Mbps
- 720p at 60 fps: roughly 4.5 to 7.5 Mbps
- 1080p at 30 fps: roughly 4.5 to 6 Mbps
- 1080p at 60 fps: roughly 6 to 9 Mbps
- Audio basics: use AAC, typically stereo, with a 48 kHz sample rate if possible. A bitrate around 128 to 192 kbps is a solid starting point for spoken-word and general live production.
Also keep headroom on your internet connection. If your tested upload speed is not comfortably above your streaming bitrate, lower the target bitrate before the event. A stable 6 Mbps stream is better than an unstable 10 Mbps stream.
Go-live rehearsal: 10-minute preflight loop
Run the same short rehearsal before every important session. It prevents most avoidable failures.
- Start a private test stream: use Private or Unlisted so you can confirm the signal without notifying your audience.
- Check audio: confirm the correct microphone, verify left/right balance, make sure the music bed is not overpowering speech, and listen for clipping, hum, or room echo.
- Check sync: say a few words on camera and watch lip sync in the preview and on playback. Fix delay before the public start.
- Use a second device: watch from a phone or another computer on a different network if possible. This catches issues the production machine may hide.
- Test chat and moderation: send a message, confirm moderators can see and act, verify pinned messages work, and check whether chat is enabled for this stream.
- Prepare a rollback plan: if ingest fails, know whether you will restart the encoder, swap networks, lower bitrate, switch scenes, or fall back to a webcam/mobile stream.
Ten minutes of rehearsal is cheaper than ten minutes of public troubleshooting.
Live chat, moderation, and in-stream control
Live chat is part of operations, not an afterthought. Set it up before the audience arrives.
- Top chat vs all chat: Top chat filters some messages to reduce spam and noise. All chat shows more of the raw conversation. Use top chat for larger or riskier public streams; use all chat when you want maximum visibility and the moderation team can handle it.
- Pinning messages: pin one high-value message at a time, such as the session agenda, support link, code of conduct, or the question prompt you want viewers to answer.
- Moderation basics: assign moderators in advance, enable slow mode if the room moves too fast, use blocked words for predictable abuse, and be clear on who can remove messages or timeout users.
- When chat features may be disabled: chat may be limited or unavailable on streams marked made for kids, on restricted streams, or when safety or policy controls apply. Do not assume chat will always be available.
Operationally, one moderator can often handle a small stream. For larger events, split duties: one person monitors chat and user behavior, another watches stream health and production issues.
Common failures and fast fixes
When something breaks, check Stream Health in Live Control Room first. It usually tells you whether the problem is ingest, configuration, or stability.
- Stream key mismatch: if the encoder says it is sending but YouTube does not receive the right event, confirm you are using the correct stream key and server settings for that specific stream. Regenerate the key if needed and re-enter it carefully.
- RTMPS/TLS or port issues: if the encoder cannot connect, check firewall rules, outbound network restrictions, and whether your environment blocks secure streaming traffic. On managed networks, port and TLS inspection issues are common.
- Network drops and bitrate instability: if health warnings show unstable bitrate, reduce bitrate, switch from Wi-Fi to wired, stop large background uploads, and avoid running the stream too close to your maximum upload capacity.
- Connected but no usable output: this usually points to bad encoder settings such as unsupported codec choices, wrong frame rate handling, muted or missing audio sources, black video, or a scene that is not actually outputting content.
- Audio/video appears fine locally but bad for viewers: always confirm on a second device. Local preview is not proof of good public delivery.
Fast rule: if YouTube sees the stream but health is poor, fix bitrate or encoding. If YouTube does not see the stream at all, check stream key, network, and RTMPS connectivity.
Policy and copyright pitfalls that can disable live streaming
Live access is easy to lose and slow to recover. Treat policy risk like technical risk.
- Community Guidelines strikes: active strikes or live-streaming restrictions can block your ability to go live. Check channel status if live options disappear unexpectedly.
- Copyright live-match issues: music, sports footage, TV audio, or other protected content can trigger live copyright matching. The result can be blocked audio, blocked video, interrupted streaming, or post-event claims.
- Circumvention rule: if one channel is restricted from live streaming, do not evade the restriction by streaming from another channel on its behalf. That kind of workaround can create bigger enforcement problems.
- Minors policy constraints: streams involving minors require extra care. Effective July 22, 2025, the age-related live rule updates to 16+. If younger individuals are involved, review current safety rules before going live, because chat and live availability may be limited under minors protections.
Best practice: clear all music rights before the event, avoid background audio you do not control, and confirm who is appearing on stream if the production includes minors.
After the stream: archive, analytics, and next-iteration checklist
Do not end the stream and walk away. The fastest gains come from reviewing what just happened while it is still fresh.
- Review the archive: scrub the opening minute, midstream sections, and ending. Look for audio imbalance, awkward starts, dead air, slide errors, camera framing issues, and abrupt cuts.
- Check startup performance: did the stream start on time, did viewers wait too long before content began, and was the first minute clear and stable?
- Check retention and drop-off: note where viewers left. Common drop points include long countdowns, audio problems, repetitive intros, and overly long transitions.
- Review stream health and incidents: log any ingest warnings, bitrate instability, reconnects, sync drift, or chat failures.
- Change one or two things before next time: lower bitrate if health was unstable, shorten the pre-roll if retention was weak, improve mic placement if speech lacked clarity, or move to an encoder if the webcam workflow hit limits.
A useful post-stream checklist is simple: what went wrong, what nearly went wrong, and what you will change before the next session.
FAQ
Can I go live without 1,000 subscribers?
Yes. You do not need 1,000 subscribers to live stream on YouTube in general. For mobile live streaming, though, YouTube requires at least 50 subscribers.
Why can't I go live right after verification?
Because first-time live activation can take up to 24 hours. Verify and enable live streaming well before your event.
Webcam vs encoder: what should I choose first?
Choose webcam first if you just need a simple face-to-camera stream. Choose an encoder first if you need screen sharing, overlays, multiple scenes, or tighter technical control.
Why was my live stream restricted?
Common reasons include recent live restrictions, Community Guidelines enforcement, copyright live-match issues, age or minors policy limits, or setting mistakes that disable interactive features.
What bitrate should I use for 1080p?
A practical starting point is 4.5 to 6 Mbps for 1080p30 and 6 to 9 Mbps for 1080p60, using CBR with a 2-second keyframe interval.
Final practical rule
Reliable YouTube live streaming is not one click; it is a repeatable operating loop: eligibility -> setup -> rehearsal -> monitoring -> review. If you treat YouTube Live as a workflow instead of a button, your sessions get more predictable, your failures get smaller, and your team gets faster every time.